Zip Line Cable Sag Calculator
Estimate midspan cable sag, rider clearance, anchor tension, and height adjustment from span, slope, rider weight, cable size, and installed tension.
🧗Zip line presets
⚙Cable and rider inputs
Zip line sag results
🔗Cable material and spec comparison
📊Reference tables
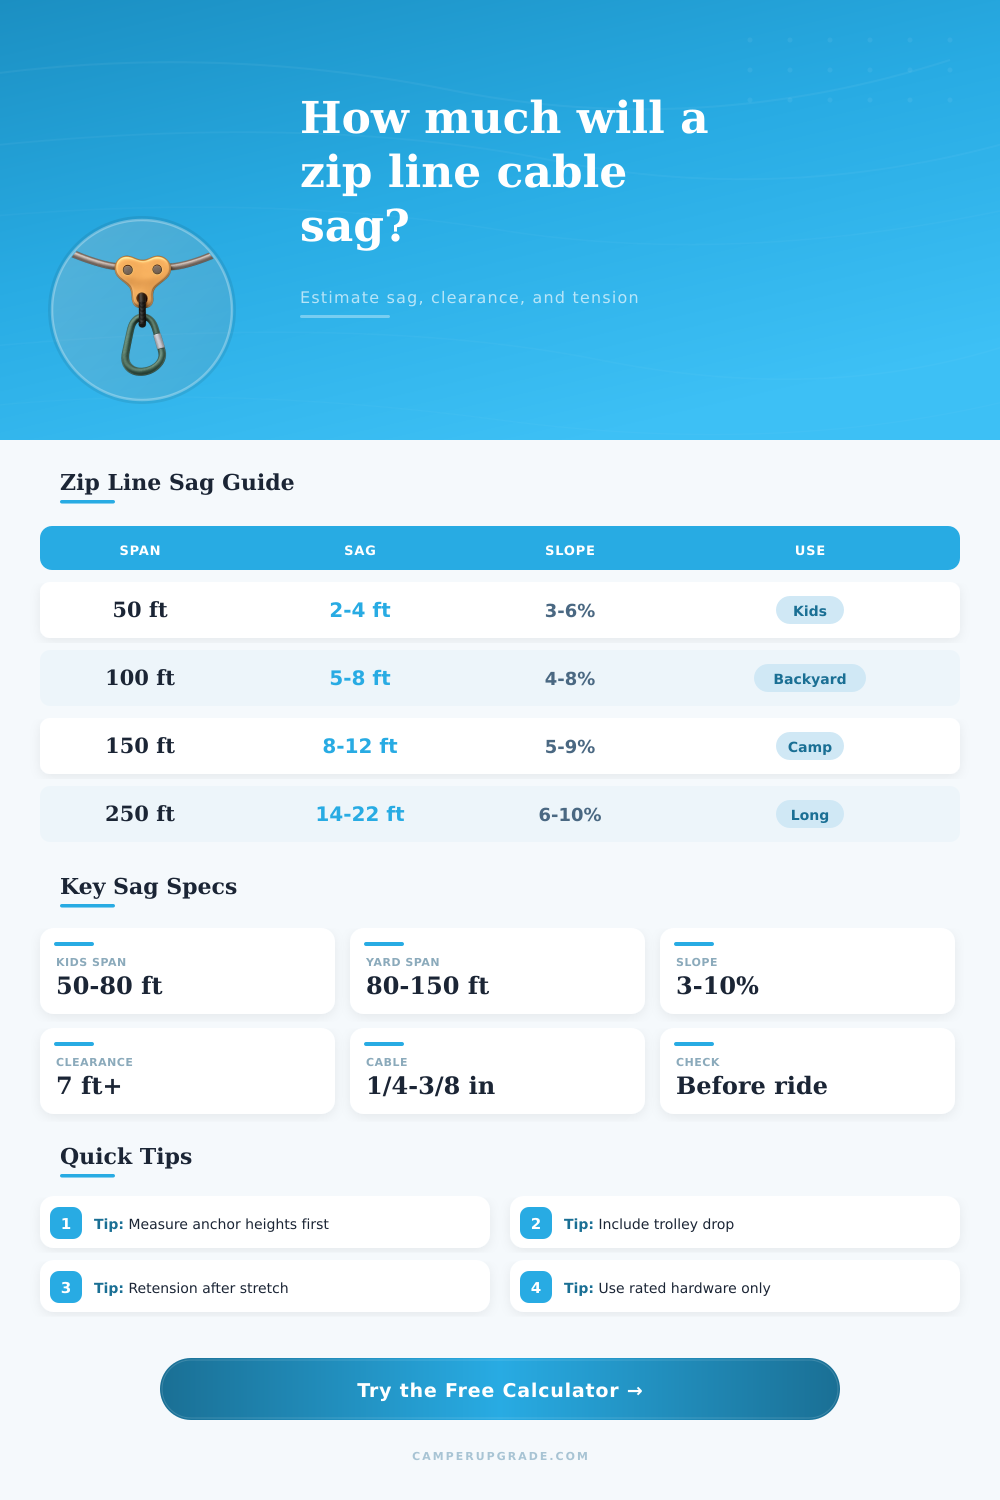
| Approximate span | Typical sag range | Typical slope range | Planning note |
|---|---|---|---|
| 40-70 ft | 2-5 ft | 3-7 percent | Short supervised kids or training line with easy inspection. |
| 80-120 ft | 4-9 ft | 4-8 percent | Common backyard line where trolley drop often controls clearance. |
| 130-180 ft | 7-14 ft | 5-9 percent | Camp spans usually need measured tension and careful anchor height. |
| 200-300 ft | 12-25 ft | 6-10 percent | Long spans amplify sag and should be professionally reviewed. |
| Cable reference | Weight per foot | Typical break strength | Best planning use |
|---|---|---|---|
| 3/16 in galvanized 7x19 | 0.065 lb/ft | 3,700 lb | Short low-load backyard checks only. |
| 1/4 in galvanized 7x19 | 0.110 lb/ft | 7,000 lb | Common recreation planning size. |
| 5/16 in galvanized 7x19 | 0.173 lb/ft | 9,800 lb | Longer or heavier recreation spans. |
| 3/8 in galvanized 7x19 | 0.243 lb/ft | 14,400 lb | Higher margin when anchors are also rated. |
| Tension change | Sag effect | Anchor effect | Field check |
|---|---|---|---|
| Lower tension | More sag depth | Lower horizontal force | Check rider clearance at midspan. |
| Moderate tension | Balanced sag | Predictable load | Good for most backyard estimates. |
| High tension | Less sag depth | Much higher anchor load | Verify anchor and hardware ratings. |
| After stretch | Sag increases | Tension changes | Recheck after initial riding cycles. |
| Clearance item | What to measure | Why it matters | Calculator field |
|---|---|---|---|
| Lower anchor height | Cable exit height | Sets the downhill end reference. | Lower anchor cable height |
| Anchor difference | High minus low anchor | Creates the chord height at midpoint. | Anchor height difference |
| Trolley drop | Cable to rider low point | Often removes 2-4 ft of clearance. | Trolley and rider hang drop |
| Ground target | Desired open space | Shows height shortfall before riding. | Minimum rider clearance target |
💡Calculation tips
Between two solid oak trees stand a spool of cable and a plan. On paper, it look right. You look at the distance, pick your incline, picture the thrill ride. Now, pull that line taut and take a step back. It sags more then expected.
While that sag might not prevent the fun, it might restrict head room for larger rider. For that very reason, zip line cable sag should of be calculated before installation. Not only does the math make for a beautiful ride, it makes for a safe one as well. Enter rider weight, anchor height and span length into the calculator and it do the math. Gone are the days of conversion tables and coefficients. You’ll be able to see the real world effects of your decisions without having to do the math.
How to Calculate Zip Line Sag Safely
I know most folks think that the tighter the line the better. More tension mean a better ride. While this is true up to a point, every time you pull harder on the cable, you also increase the load on your anchors exponentially. Pulling just a little tighter can double the stress on your eye bolts and tree wraps. With this tool you can dial in something that will give you speed but still leave the hardware well within its working limits.
The bend in the midline is also caused by gravity working on both the rider and the cable. The greater the length, the more weight the steel cable has. A quarter inch galvanized steel strand will weigh a lot over a hundred foot span. And it will pull middle down. When there’s a rider close to the middle, the middle sag even deeper. Enter your harness and trolley weight into the calculator. It can make a few feet difference in clearance.
The main weakness of most backyard jobs is clearance. Maybe you measure ten feet from the ground to the cable at the low anchor point. Ten feet sounds like plenty of space! But then line sags halfway up and the rider dangles beneath it. Now he’s got four or five feet of headroom, plus he’ll smack into that bush. This lowest-point calculation takes into account both the geometry of how the chord drops, plus the physical length of your harness lanyard and any sag in the line. And it informs you whether to cinch your line just a little tighter or lift one end anchor to restore some safety buffer.
There’s a trade off: higher tension means less sag but also sharply increased horizontal force at anchors. How high can trees hold? Not as high as you think. And it depends on the soil conditions. Solid bedrock isn’t the same as a root ball. Use the reference tables on the page for typical sag range across common span lengths. These is a starting point for what is considered normal. A short fifty-foot line will always sag less than a two-hundred-foot run, even with identical tension. That will help you know what to expect going into hardware purchases.
Also be sure to account for stretch. When new steel cable is loaded for the first time, there’s some amount of stretch on the cable. It will add inches of sag overnight. A lot of guys install, ride it one time and then go back and have to take up slack again. You’ll want to double-check your tension margins against the cable break strength. That will ensure you’ve got a good safety factor even with all the metal settling down in position. Again, a little extra step. But check the ratio so you don’t end up having a catastrophick failure later.
Last, think about the pitch. Keeping your speed under control with a slight pitch prevents having to deal with longer braking distances on exit. Anything too steep makes controlling those forces impossible with stock hardware. It also takes into account the different heights where anchors sits so you can see how your line will actualy lay out. Each time someone uses this system, they’re working against gravity. Save yourself some awkward tweaking by getting the math correct up front.
Thorough planning makes for a good zip line. You don’t notice the work that went into it because it just flows. You measure twice. You calculate once. Then you go up and down on it while knowing the math has your back. Before even tightening one single bolt. It’s about tension and sag and weight all working together to make it feel like it always should.