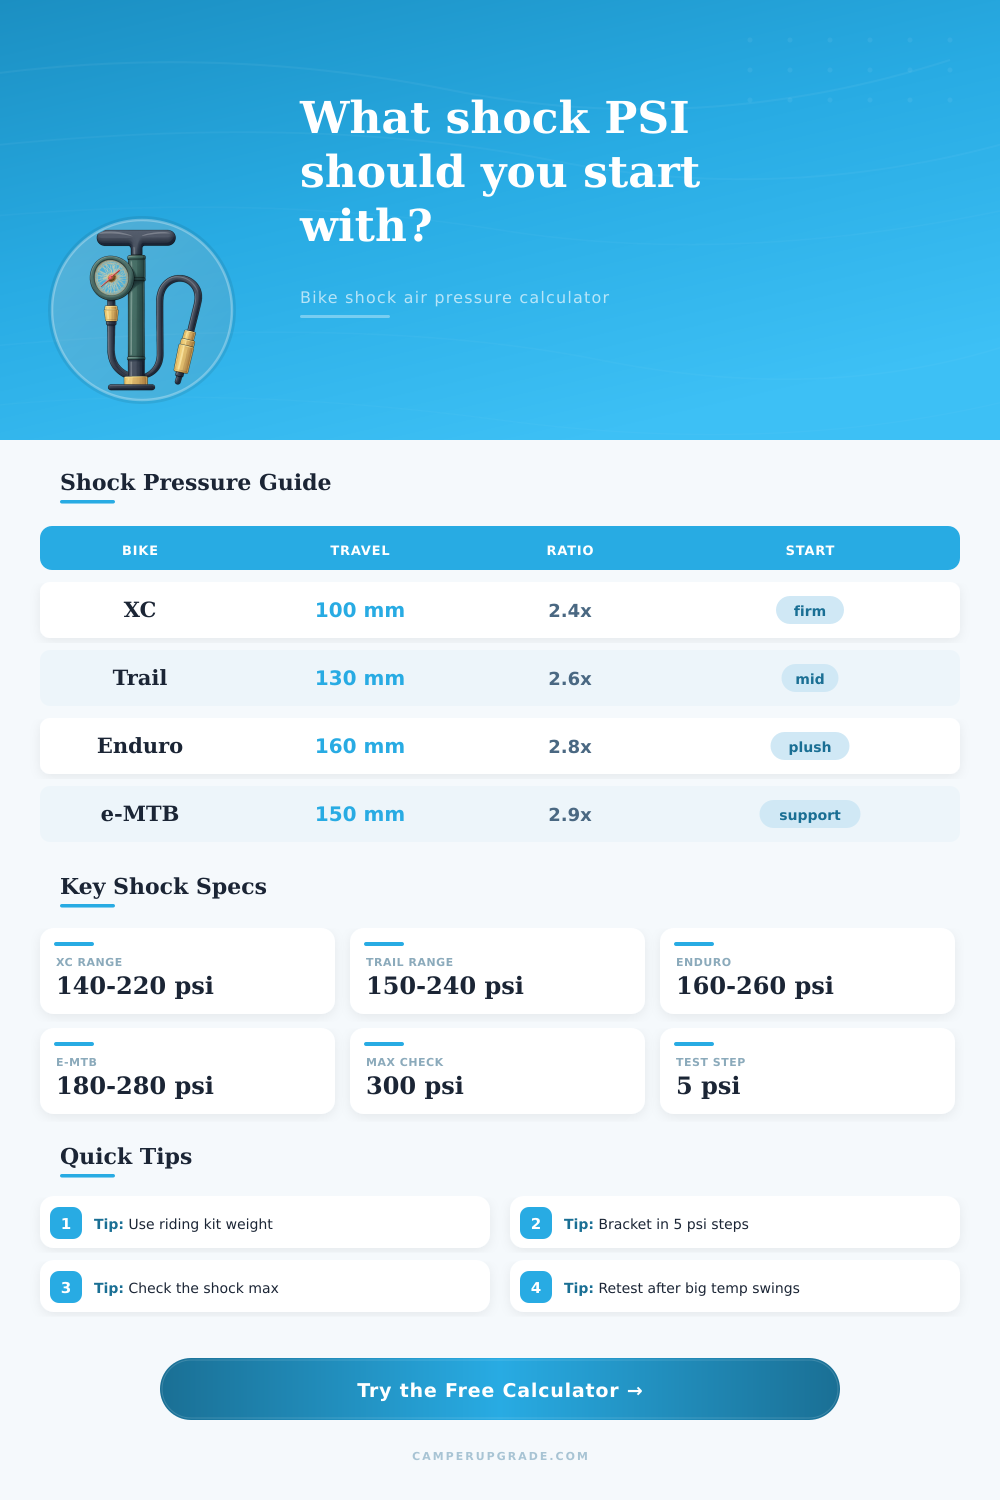
Bike Shock Air Pressure Calculator
Estimate a rear shock starting pressure from rider load, leverage ratio, travel, air can profile, terrain load, and pressure limit before you fine tune on trail.
🚲Real Bike Setup Presets
Your Shock Pressure Snapshot
🔧Rider, Bike, And Shock Inputs
⚙Shock Spec Comparison Grid
📊Reference Tables
| Bike category | Typical rear travel | Usual leverage range | Pressure direction |
|---|---|---|---|
| XC or marathon | 90-120 mm | 2.2-2.6x | Moderate pressure with firmer support. |
| Trail bike | 120-150 mm | 2.4-2.8x | Balanced starting pressure for mixed terrain. |
| All-mountain | 140-160 mm | 2.6-2.9x | Slightly higher support for speed and impacts. |
| Enduro | 150-180 mm | 2.7-3.1x | Higher pressure margin and stronger bracket checks. |
| e-MTB | 140-170 mm | 2.7-3.2x | More support for bike mass and braking loads. |
| Air-can profile | Setup effect | Good use | Watch point |
|---|---|---|---|
| Standard inline air | Neutral baseline | Trail and XC bikes | May need volume spacers for hard hits. |
| Large volume can | Often 3-5% more pressure | Traction and comfort | Can feel too deep without enough support. |
| Piggyback air shock | More heat and impact control | Enduro, park, e-MTB | Check pressure after repeated descents. |
| Firm platform tune | Often 2-4% less pressure | Pedaling support | Can feel harsh if overpressured. |
| Coil feel comparison | Lower initial air target | Traction-focused riders | Bottom-out support may need spacers. |
| Total rider load | XC start | Trail start | Enduro or e-MTB start |
|---|---|---|---|
| 120-150 lb | 105-150 psi | 120-165 psi | 135-185 psi |
| 151-180 lb | 140-185 psi | 155-205 psi | 175-230 psi |
| 181-210 lb | 175-220 psi | 195-245 psi | 215-270 psi |
| 211-240 lb | 210-255 psi | 230-285 psi | 250-305 psi |
| 241-280 lb | 245-300 psi | 270-320 psi | 290-340 psi |
| Trail test result | Pressure move | Likely reason | Next check |
|---|---|---|---|
| Pedal bob and wallow | Add 5 psi | Not enough mid-stroke support | Repeat seated climb and corner exit. |
| Harsh chatter | Remove 3-5 psi | Too much initial spring force | Check tire pressure too. |
| Hard bottom events | Add 5-8 psi | Impact load is exceeding support | Consider volume spacer after pressure is right. |
| Good support, poor grip | Remove 3 psi | Support is high for available traction | Retest on the same trail section. |
| Near max pressure | Stop and verify | Leverage, tune, or shock size may not fit | Check manufacturer pressure limit. |
💡Setup Tips
Think about it: You adjust air pressure like volume knob on a stereo, turn it up until you hear it loud enough and ride off hoping for the best. But suspension setup isn’t audio engineering; it’s structural physics held in rubber and aluminum. Adjusting compression clicks or tuning rebound won’t make it work if you’re beginning at an incorrect baseline number.
This calculator do the heavy lifting for you and translates your leverage ratio, gear load and body weight to a concrete starting PSI, so you don’t have to guess in the parking lot. Air springs are progressive by nature; they becomes stiffer as they compress. That’s why when you pump them up to whatever pressure your bike calls for, that first number is doing double duty. It supports your bodyweight on smooth surface without pedaling all the way into the travel, but it still damps out bumps before bottoming out.
How to Get Your Air Pressure Right
Leverage ratios differs greatly from one frame to another which makes the math… Messy. If the frame has high leverage, it will feel supportive but takes much more pressure then a lower-leverage platform to reach similar levels of sag. The calculator factors in these differences so you don’t need to memorize each frame builders kinematics chart.
Most setups comes undone at the weight equation, where folks gets on a bathroom scale in their underwear, record that useless data as “their weight,” and then forget about the rest of what they carry every day. Camera bags, big boots, water bottles, hip packs: all that stuff adds up quickley. Ten pounds more on the bike mean an important bump-up in pressure to ensure proper sag percentages. If you don’t take that into account, the shock will be far too soft to handle the mass it’s hitting and everything will start to wallow on climbs.
That’s why the tool specifically asks for weight of your gear; that cargo shifts direction of force on the rear axle. The numbers tell only part of the story; terrain determines which support is best. Rock gardens calls for firmness to eliminate harsh feedback. A smoothly flowing trail calls for plushness for good traction. If you’re doing bike park laps, big drop chasing require extra pressure margin. This helps you survive the hits without slamming into the air spring wall.
Real trails aren’t ever uniformly the same so instead of spitting out one magic number, the calculator offers a test bracket. You begin at the center of that and go from there by feel. The other silent killer for suspension performance is temperature. Air expands and contracts with heat and that’s where it makes things interesting. If a shock has been charged in a cool garage, it’ll be at a different reading than if it sit in direct sunlight and gets hot while you ride it or warm it up in the morning. Riding it on a cold morning can also cause a perfectly set shock to seem harsh. Letting the shock come up to room temp before taking your readings is always a good idea. Surrounding temperature play into how the tool calculates the pressures so you have a realistic expectation of what that pressure will do when you’re realy going.
The tool also has a reference table in it that shows what those numbers mean for other types of bikes. Enduro and e-MTB bikes needs stiffer tires with more support because they handle harder impacts and carry more weight. XC bikes can gets away with being lighter and running firmer. Those are more sanity checks though, meaning if your calculated PSI falls way out of the normal range of what’s considered moddern for your bike, you likely screwed up your input or guessed wrong at the leverage ratio, which will result in crazy pressure estimations.
Suspension tuning is an iterative process so don’t go chasing perfection on the initial ride. Make little changes, test a certain stretch of trail, and continue adjusting. If you’re bottoming out, add some psi. If each pebble feels like a minefield, back it down three. It’s all about that sweet spot where your bike carries your weight while maintaining grip. Get as close as you can by starting with the calculated baseline and let your body guide you from there for the final adjustment.
Perfect isn’t always found on a gauge. It is the feeling of riding confidentely beneath your wheels.