Mountain Bike Suspension Sag Calculator
Estimate fork sag, rear wheel sag, shock shaft sag, and setup balance from rider weight, riding kit, travel, shock stroke, leverage ratio, terrain, and spring style.
🚵MTB sag presets
⚙Suspension inputs
Suspension sag results
🔧Suspension spec comparison grid
📊Reference tables
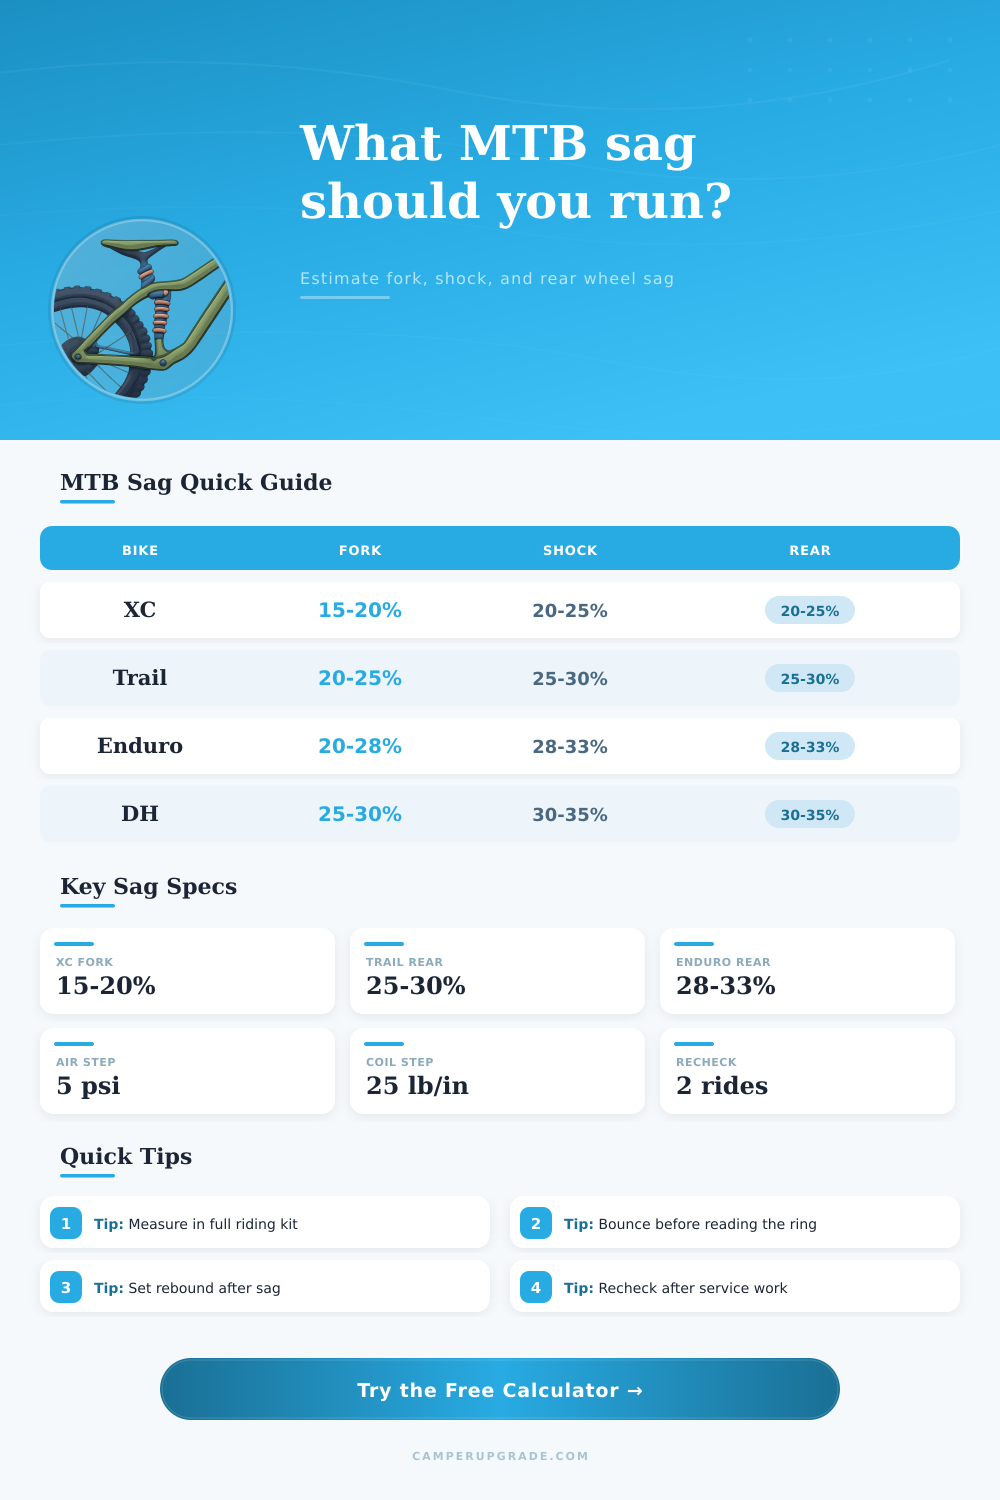
| Bike category | Fork sag range | Rear sag range | Typical feel |
|---|---|---|---|
| XC or marathon | 15-20 percent | 20-25 percent | Firm, efficient, high ride height for pedaling. |
| Trail all-rounder | 20-25 percent | 25-30 percent | Balanced traction, corner support, and comfort. |
| Enduro | 20-28 percent | 28-33 percent | More grip and descending confidence without giving away all support. |
| Downhill / bike park | 25-30 percent | 30-35 percent | Plush opening stroke, deep travel use, and high-speed grip. |
| Loaded bikepacking | 22-28 percent | 28-33 percent | Extra cargo often needs more pressure or spring rate to hold ride height. |
| Travel example | 20 percent sag | 25 percent sag | 30 percent sag |
|---|---|---|---|
| 100 mm fork or rear | 20 mm | 25 mm | 30 mm |
| 130 mm fork or rear | 26 mm | 32.5 mm | 39 mm |
| 150 mm fork or rear | 30 mm | 37.5 mm | 45 mm |
| 170 mm fork or rear | 34 mm | 42.5 mm | 51 mm |
| 200 mm downhill travel | 40 mm | 50 mm | 60 mm |
| Shock stroke | 25 percent sag | 30 percent sag | 35 percent sag |
|---|---|---|---|
| 40 mm stroke | 10 mm shaft | 12 mm shaft | 14 mm shaft |
| 45 mm stroke | 11.3 mm shaft | 13.5 mm shaft | 15.8 mm shaft |
| 50 mm stroke | 12.5 mm shaft | 15 mm shaft | 17.5 mm shaft |
| 55 mm stroke | 13.8 mm shaft | 16.5 mm shaft | 19.3 mm shaft |
| 65 mm stroke | 16.3 mm shaft | 19.5 mm shaft | 22.8 mm shaft |
| Adjustment symptom | Likely sag signal | First change | Recheck |
|---|---|---|---|
| Bike dives when braking | Fork sag too deep or compression too open | Add fork pressure in small steps | Repeat fork o-ring measurement |
| Rear skips on roots | Rear sag too shallow or rebound too fast | Add sag or slow rebound slightly | Check traction on same trail |
| Pedal strikes often | Rear ride height too low | Reduce rear sag or add compression support | Confirm bottom-out marker |
| Harsh near full travel | Sag may be right, ramp too firm | Review volume spacers or compression | Use travel ring after a hard run |
| Loaded trip wallows | Cargo pushed sag too deep | Add pressure or spring rate for trip load | Measure with bags installed |
💡Setup tips
The sag on your mountain bike help you read the trail instead of just reacting to it. Instead of anticipating what’s going to happen next, you’re able to feel the terrain under your tire because the path is easy to read rather then something you have to react to.
Sag connects dynamic performance with static setup. Where does suspension work start? How much travel do I have left? Will it feel planted or skittish when leaning into a corner? Should it be stable or will it roll? Bad sag equals wasting money on upgrades that won’t address balance problems.
How to Set Your Bike Suspension Sag
In fact, most riders just look up a one-size-fits-all sag value in a generic table and apply it to their bike: Enduro bikes gets a 30% sag, while trail bikes get twenty-five percent. Then they set everything else and are done. But that’s not what sag is all about.
Sag is a relationship. It depends on your intended terrain, your spring rate, your gear, and your own body weight. And the above calculator take care of the math for you, including converting units and calculating leverage ratios, so you can concentrate on riding.
Because suspension sag values don’t always match exactly, there is a difference between shock shaft sag, front fork sag, and rear wheel sag. (For those with fully suspended bike with linkages, understanding how much shock moves versus how much the rear wheel compresses are key.)
Your real-world ride weight is more important than you might realize. You aren’t wearing gear when you step on your bathroom scale; instead, you’re lugging around bulky armor, shoes, tools and maybe even a full hydration pack. All that weight compress the suspension further than intended without you realizing it. This causes a harsh bottom out sensation and decreases sensitivity to smaller bumps.
Weight your gear, because all that stuff adds to your total load. To account for that increased weight, tool will adjust its recommended pressures to reflect reality rather than an idealized version of you standing in underwear.
It does depend heavily on the terrain as well, which should be reflected in the percent settings. If it’s a smooth-flow trail, then use less sag so that the bike sits higher and rides efficient on climbs. If it’s rough with lots of rocks and big hits then tune higher sag so that you don’t bottom out and take a beating on rough sections.
There really isn’t one right setting for everyone. If someone goes from racing enduro in the summer to doing cross country training in the winter, their fork pressure could be 10 psi or more off. This depends on what they’re used to. The tool has some presets that gives you a place to start but ultimately how you like it tuned will come down to whether you prefer pedaling support or comfort.
Compare air shocks and coil springs. So what’s the deal? As you’re probably aware, air compresses but it becomes progressively stiffer at each stage of compression. Coil springs provides more linear resistance over the entire range of motion. That can make it necessary for coil set-ups to have a little extra sag percent to get that initial soft ride found in air shocks. So don’t just take the recommendation for air pressure and go change your coil spring rate without taking this into consideration.
How does travel volume interact with sag percentage to affect actual millimeters of compression used? Check out the reference table.
Don’t go check your baseline sag right out of the gate. Warm up your suspension with some steep pitches, a few jumps, and all-out rides. Within the first twenty minutes on the trail, your suspension will settle. Friction points will change. Most importantly, how you feel riding will change. Recheck the o-rings once settled.
Does your bike wallow in the corners? Your sag could be too deep. Is it jittery and disconnected to the trail? Chances are you’re running too firm. Make adjustments in small increments (five psi at a time for air shocks; 10 pounds per inch for coils). Be patient, as it beats guessing each and every time.
We’re looking for predictability, not perfection. Once you get that dialled in, the bike will tell you exactly what the trail is going to do before you reach it. And you trust the bike; whether climbing or descending, you know it’s not going to throw a monkey wrench into things when you need speed.
Ride the bike, check the numbers, make adjustments and eventually it all becomes part of the experience. That’s what this whole thing is about, seamless control. Why even worry about the numbers otherwise? You should of checked your settings more often.