Sail Area to Displacement Calculator
Estimate SA/D from working sail area, boat displacement, crew and cruising load, reefing, and waterline length, then compare the result with practical cruising and performance bands.
⛵Boat Presets
⚙Sail Plan and Displacement Inputs
📋Calculation Breakdown
📊Spec Grid
📘Reference Tables
| SA/D band | Typical range | Practical read | Common use |
|---|---|---|---|
| Heavy cruiser | Under 15 | Lower light-air power | Bluewater load carrying |
| Moderate cruiser | 15 to 18 | Steady all-round power | Coastal and club use |
| Performance cruiser | 18 to 22 | More responsive in light air | Fast cruising and racing |
| Race or sport | 22 to 28 | High sail power | Light displacement boats |
| Extreme multihull | Over 28 | Very high power | Performance-focused sailing |
| D/L band | Range | Displacement style | SA/D context |
|---|---|---|---|
| Ultralight | Under 100 | Very light | Needs careful sail handling |
| Light | 100 to 200 | Modern performance | SA/D often feels lively |
| Moderate | 200 to 300 | Cruiser-racer mix | SA/D 16 to 20 is balanced |
| Heavy | 300 to 400 | Traditional cruiser | Higher SA/D helps light air |
| Very heavy | Over 400 | Full-keel load carrier | SA/D may look low when loaded |
| Boat preset | Sail area | Displacement | Approx SA/D |
|---|---|---|---|
| Catalina 22 | 205 ft² | 2,490 lb | 17.6 |
| J/24 | 261 ft² | 3,100 lb | 19.4 |
| Catalina 30 | 446 ft² | 10,200 lb | 17.9 |
| Beneteau Oceanis 38.1 | 690 ft² | 15,102 lb | 20.4 |
| Valiant 40 | 833 ft² | 22,500 lb | 19.2 |
| Reef setting | Area kept | SA/D effect | Use case |
|---|---|---|---|
| Full sail | 100% | Design power | Light to moderate air |
| First reef | 82% to 88% | Noticeably lower | Fresh breeze control |
| Deep reef | 65% to 75% | Cruising-safe power | Heavy coastal weather |
| Storm setup | 45% to 60% | Low drive, high control | Survival or delivery trim |
| Race trim | 100% | Compare lightship | Use minimum load values |
💡Calculation Tips
The length of two boats might be equal standing on the dock, but one appears eager to cut loose and point upwind while the other seems slow. Why? It is not always just hull shape, that’s for sure. More often than not, it is the relationship between your boat’s fully rigged weight and amount of sail it carries. That is known as sail area to displacement ratio, which are the shared measure used for such comparisons.
But folks too frequently take published number as truth and don’t consider actualy boat weight in the real world. Plug your numbers into it and let the calculator do the math for you. No need to wrestle with fractional exponents or try to convert units. The basic equation calculates working sail area divided by displacement raised to the two thirds power, normalized by the density of seawater. That leaves us with a dimensionless number. Something we can use to compare apples to oranges on a level playing field.
How to Use the Sail Area Calculator
The bigger the ratio, the better she perform in light air and the quicker she accelerate. The smaller the ratio, the more she heel and the more comfortable she will be in choppy seas. But then you have to know which end of the spectrum matches what you actualy intend to do different than what you hope to do.
The other thing most sailors get wrong is basing their assumptions on brochure displacements which don’t account for fuel, water, gear, or even crew. The dry number is rosier than roses in performance terms; those dissapears as soon as you load-up for a passage offshore. That is why being able to add an extra load field are important. A small boat handling may not be altered much by five hundred pounds of stores onboard. But two thousand pounds of provisioning and equipment can considerabley reduce the effective sail power for a thirty foot cruiser. Calculate for what you will actually carry, not what the manufacturer shipped it with.
The interpretation here is subtle but important, and rig type matter too. Even though two boats may have equal total square footage of sail, a fractional sloop presents different apparent wind to boat compared to a ketch or a cutter. To help set the stage, you can choose the configuration of your rig on the tool. This isn’t going to alter the arithmetic, but it does frame the output with realistic expectation for how this power will be delivered.
Lastly, you are able to adjust for reefing. To get a feel for how much drive you’ll retain as conditions worsens, running a comparison between full sail and double reefed is a good idea. If you find yourself falling off into the single digits once reefed, you’re going to be spending long days under power in foul weather.
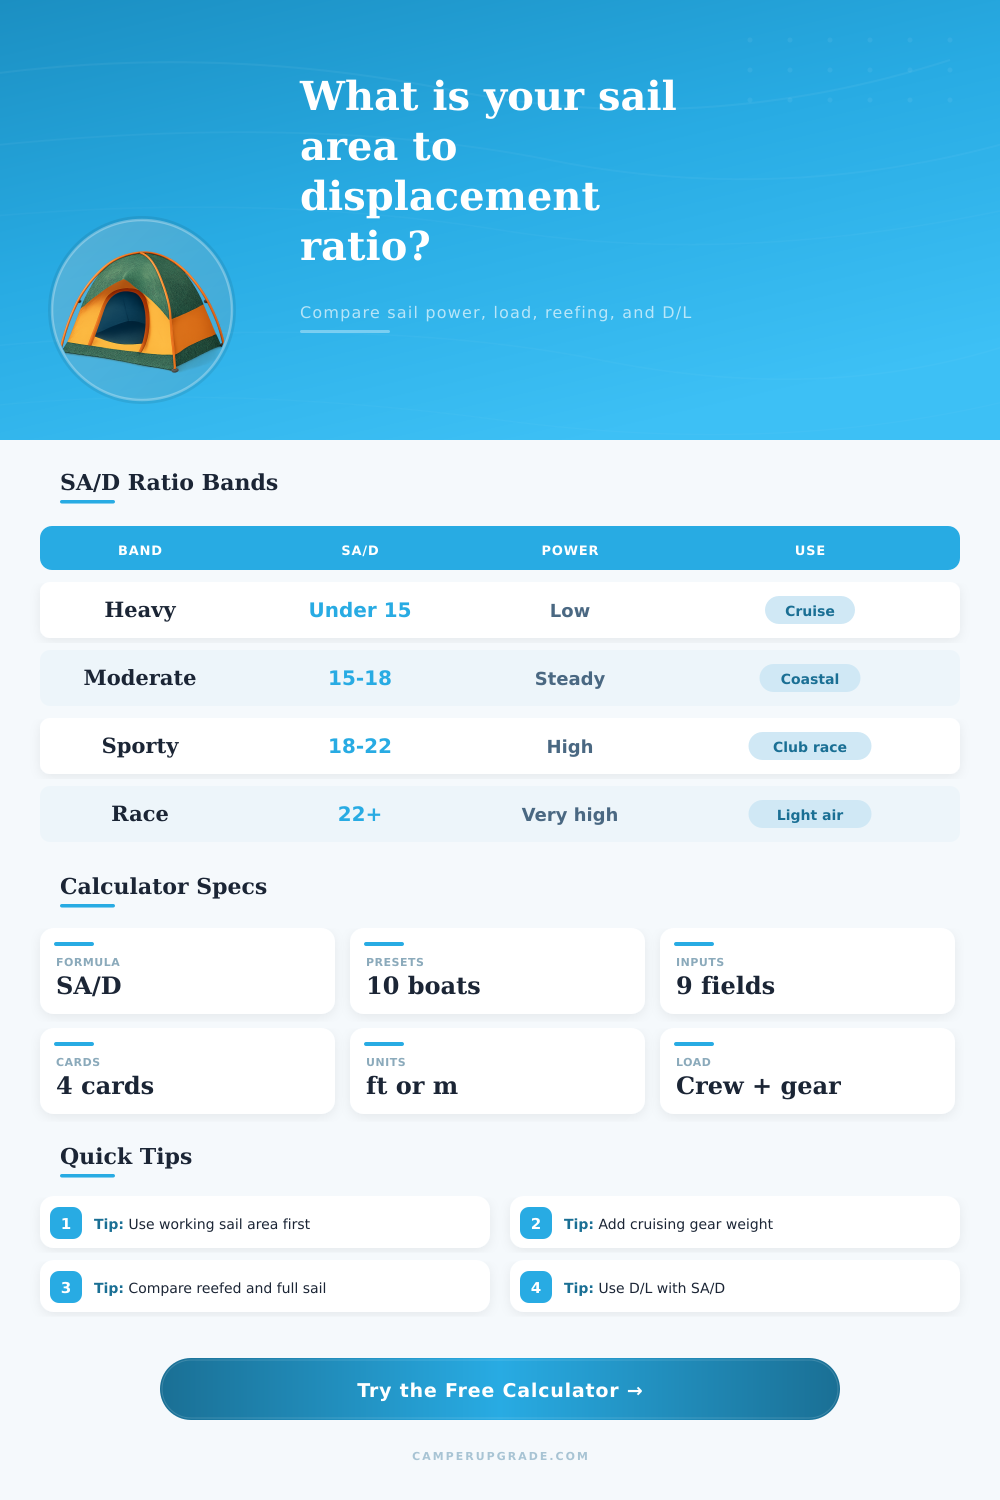
The absolute number isn’t everything though. Eighteen feels snappy on a heavy displacement traditional hull but lumbering on an ultralight racer. This is where context comes in. That’s why we pair it with displacement per length ratios to give better understanding. We’ve put together some reference tables on the page that categorize these bands in useful ways. Below fifteen is typically heavy cruiser territory. Between fifteen and eighteen is moderate coastal. Above twenty-two is often performance racer territory. Keep in mind these are guides not rigid rules, but they offer a useful standard for checking your set up.
No single number will solve all of these tradeoffs of real sailing. More canvas is more exciting in a light breeze, but it require more work reefing the main and furling headsails in a squall. Lighter boats goes faster, but they has less room for stuff and are sometimes less comfortable. Do you want to be able to accelerate out of a hole, or do you want to just sit there soaking up the sunshine? Choose your poison and set up your boat for it. That’s the strategy; the calculator just takes the physics part out of the guessing game.
Ultimately, knowing this number will keep you from building or buying a boat that is not well-balanced. Don’t stuff it full of offshore equipment and think you’ll have a fast racer on your hands. You should of dont add too much sail and then complain about how hard it is to drive as a sportboat. Know the weight you carry and match the canvas to the mass and believe the numbers will tell you exactly where that balance point is.