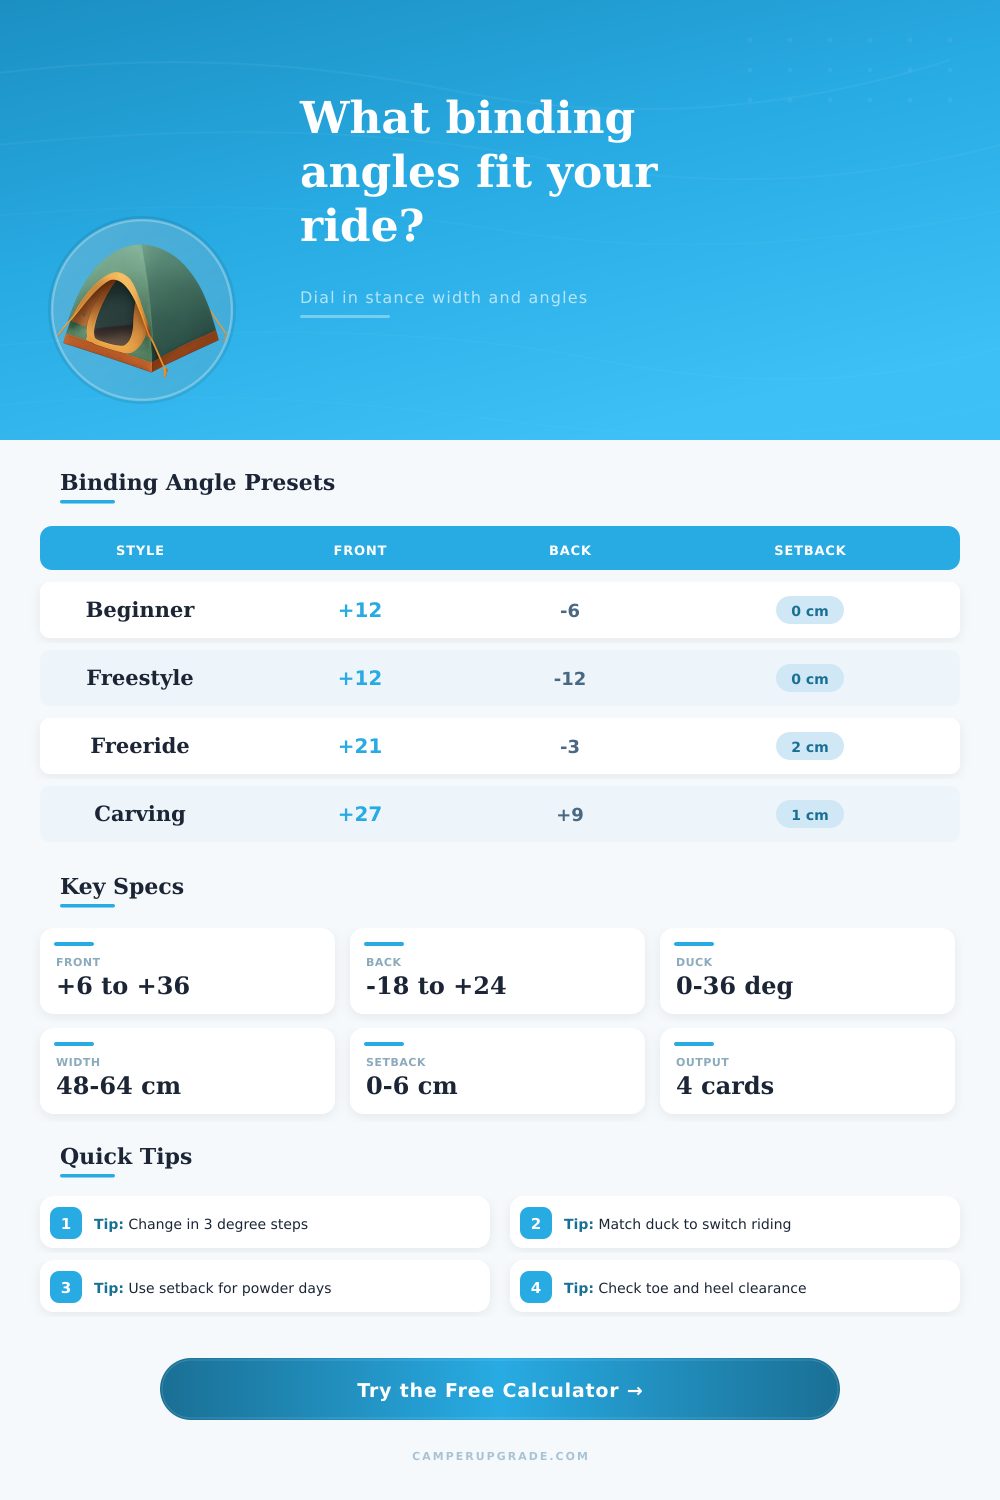
Snowboard Binding Angle Setup Calculator
Tune front and rear binding angles, stance width, duck spread, setback, and boot clearance for park laps, all-mountain cruising, carving, powder, or splitboard days.
⛷Rider Presets
🏂Setup Inputs
Use angles in 3 degree increments to match common binding discs. Positive rear angles point both feet forward; negative rear angles create duck stance.
Recommended Binding Setup
📏Setup Spec Grid
🗂Angle Preset Table
| Riding Focus | Front Angle | Rear Angle | Stance Feel |
|---|---|---|---|
| Beginner centered | +9° to +12° | -3° to -6° | Easy turn initiation with mild duck |
| All-mountain | +12° to +18° | -3° to -9° | Balanced cruising, side hits, and light switch |
| Freestyle twin | +9° to +15° | -9° to -15° | Symmetric landings and strong switch comfort |
| Carving | +24° to +36° | +6° to +18° | Both knees point down the fall line for edge pressure |
| Freeride | +18° to +24° | 0° to -6° | Directional response with enough rear-foot mobility |
| Powder | +15° to +24° | 0° to -6° | Forward drive with float-friendly setback |
↔Stance Width Reference
| Rider Height | Starting Width | Narrow Feel | Wide Feel |
|---|---|---|---|
| 150-160 cm / 4 ft 11 in-5 ft 3 in | 48-52 cm | Quicker edge changes | More landing stability |
| 161-170 cm / 5 ft 3 in-5 ft 7 in | 51-55 cm | Less knee bend | Better presses and absorbs chop |
| 171-180 cm / 5 ft 7 in-5 ft 11 in | 54-58 cm | Agile carving transitions | Stable park and powder stance |
| 181-190 cm / 5 ft 11 in-6 ft 3 in | 57-61 cm | Relaxed hips on long runs | More leverage over a wide board |
| 191 cm+ / 6 ft 3 in+ | 60-64 cm | Cleaner compact turns | Extra landing platform |
🏔Setback and Shape Table
| Snow / Board Use | Setback Range | Angle Pair | Best For |
|---|---|---|---|
| True twin park board | 0 cm | +12° / -12° | Switch takeoffs, rails, and centered spins |
| Daily resort board | 0-1.5 cm | +15° / -6° | Mixed groomers, side hits, and casual switch |
| Directional freeride board | 1.5-3 cm | +21° / -3° | Speed, chop, steeper terrain, and open bowls |
| Deep powder board | 3-6 cm | +18° / 0° | Float, trees, and less rear-leg burn |
| Carve-focused board | 0-2 cm | +27° / +9° | High edge angles and forward body alignment |
🥾Boot Clearance Table
| US Boot Size | Typical Waist | Overhang Target | Setup Note |
|---|---|---|---|
| 6-7 | 23.8-24.8 cm | 3.5-5 cm total | Regular-width boards usually clear well |
| 8-9 | 24.8-25.8 cm | 4-5.5 cm total | Most all-mountain boards fit without extreme angles |
| 10-11 | 25.6-26.8 cm | 4.5-6 cm total | Wide models help if carving steeply |
| 12-13 | 26.5-28.5 cm | 5-6.5 cm total | Check drag before using low positive angles |
| Carving stance | Varies | Minimal drag | Higher positive angles reduce toe and heel bite |
💡Setup Tips
Your back knee hurt. This mechanical disconnect happens because your rear foot is pointing backward while your hips wants to turn forward when carving a groomer at moderate speed. Because of lost control and discomfort you get less than optimal performance on your snowboard, and that’s just your knees.
Most riders treats setup as an afterthought; they stand on their boots, strap in, and hope for the best. Understanding why these numbers matter change your riding experience; the calculator above do the math for you.
Why Your Snowboard Setup Matters for Comfort
The angle is the leverage. The usual front angle is positive, meaning your toes are angled downward from centerline of the board. This means your lead knee is over your edge, which lets you use your weight instead of just balancing on top of snow. Rear angle control personality. A negative angle puts you in a duck stance, with both feet angled out like a penguin’s posture. Open hips is good for park tricks and switch riding.
Positive angles realign your feet with both knees pointed down the fall line. That alignment allow you to stand stacked over your edge without twisting your spine, which is non-negotiable if you want to carve hard. As the reference table show, carvers push to aggressive positive setups while freestyle riders clusters around symmetrically duck angles.
But not so much width. Eventually, it stops working. If you’re too narrow you’ll be tipping on your toes when you ride any kind of chop in snow or land a jump, causing your center of gravity to shift to fast for stable footing. Too wide and you lose agility. You can’t really press the board on rails or link quick turns.
For most intermediate riders, start with about shoulder width. But then there’s no one-size-fits-all approach; it also depends on your leg length and height. Typicaly taller people tend to want a bit wider stance to keep leverage without having their knees bent uncomfortably in a sort of L shape. The tool takes your boot size and height into account and recommends what should of feel like a base stance to put you above the effective edge.
When it’s really snowy, the whole set up shifts your stance relative to tail. You want your weight forward so your nose doesn’t sink into powder. Moving your bindings backwards accomplish this without hiking your hips uncomfortably high off the heel. Symmetry is nice; a centered stance just feels more predictable and symmetrical in the park or on groomer. And if you never ski switch, a slight setback make things more comfortable on steeper terrain, since it keeps your upper body aligned with direction of travel instead of twisting yourself sideways.
If you ignore it, boot clearance can ruin all your good intentions. Maybe you think super-widely tipped angles and a super wide stance look cool, but if your boots catch in snow when making a sharp turn you’ll wash out in no time flat. To flag any likely overhangs, the calculator compares your boot size with your board’s waist width. Narrower boards coupled with larger boots requires more conservative angles to avoid toe-drag. It’s a geometry thing; something you can’t wish away.
Change only one variable at a time. Adjust your angle, make a complete lap, and notice the difference. Do not touch your width until you are done. Tweaking all variables simultaneously ruins most setup.
Trust your legs, they know when it’s right. You’re not trying to copy a pro rider; you want no friction between your intent and how board responds. Once your knees agree and stop fighting each other, you’ll start to ride. The first wince turns into a calm sense of perfect balance.