Bike Tire Pressure By Rider Weight Calculator
Estimate front and rear tire pressure from rider weight, bike weight, gear, tire width, surface, tube or tubeless setup, casing, rim type, load split, and ride temperature.
🚲Pressure Presets
📝Rider, Bike, And Tire Inputs
Use dressed riding weight, including shoes and filled pockets.
Include bottles, bags, tools, racks, fenders, and lights.
Add backpack, panniers, frame bags, food, water, and camping gear.
Most bikes sit around 52-60% rear. Loaded rear racks can be higher.
Measure mounted width if possible. Sidewall labels can be off.
Wider rear tires usually need less pressure for the same load.
Smaller wheels get a small pressure bump for similar tire width.
Tubes need more pinch-flat margin; inserts can run lower.
Stiffer casings often feel firmer at the same PSI.
Rougher surfaces generally reward lower pressure and more casing support.
Fine tune the estimate for feel without changing the load math.
Always obey the lower limit printed on the tire or rim.
Used to flag narrow or very wide tire-to-rim pairings.
Use the lowest marked maximum for either the tire or rim system.
Pressure changes with temperature after you leave the pump.
Cold starts need a slightly higher pump reading for the same ride PSI.
This calculator provides a starting point. Tire construction, rim shape, riding skill, speed, impacts, and manufacturer limits should override any estimate.
Recommended Starting Pressure
📊Pressure Details
📘Reference Starting Points
| Bike or tire | Typical width | Common starting range | Adjustment notes |
|---|---|---|---|
| Road performance | 25-30 mm | 55-90 PSI | Weight split and rim limits matter more than old maximum-pressure habits. |
| Endurance road or all-road | 30-35 mm | 40-65 PSI | Often faster on imperfect pavement with a modest pressure drop. |
| Commuter and hybrid | 35-50 mm | 35-60 PSI | Add pressure for cargo, tubes, curb hits, and e-bike weight. |
| Gravel | 38-50 mm | 24-45 PSI | Lower for rough washboard, higher for fast pavement connectors. |
| Cross-country MTB | 2.1-2.4 in | 18-28 PSI | Tubeless and casing strength decide how low you can go. |
| Trail and enduro MTB | 2.3-2.6 in | 17-30 PSI | Rim strikes, tire squirm, and speed are the real-world limiters. |
| Plus and fat bike | 2.8-5.0 in | 4-18 PSI | Soft terrain may need very low pressure, but avoid hard impacts. |
| Symptom on ride | Likely pressure issue | Change to try | What to watch |
|---|---|---|---|
| Harsh buzz, skipping on rough pavement | Too high for surface | Drop 2-4 PSI road or 1-2 PSI MTB | Keep rim strikes away. |
| Snakebite flats with tubes | Too low for impact load | Add 4-8 PSI or use wider tires | Check tire and rim damage. |
| Tire squirm in corners | Too low or casing too light | Add 1-3 PSI or use firmer casing | Rear tire often needs more. |
| Poor gravel traction | Too high for loose surface | Lower in small steps | Stop before rim taps begin. |
| Pressure near sidewall max | Tire may be narrow for load | Use wider tire or reduce cargo | Do not exceed marked limits. |
⚠Setup Notes
The feel of your bike on the road is shaped by your bike tire pressure. Too much pressure and it’s jarring all day long, wearing on you. Too little pressure and you’ll pinch flat. You might hit the rim or fold the tire in a turn.
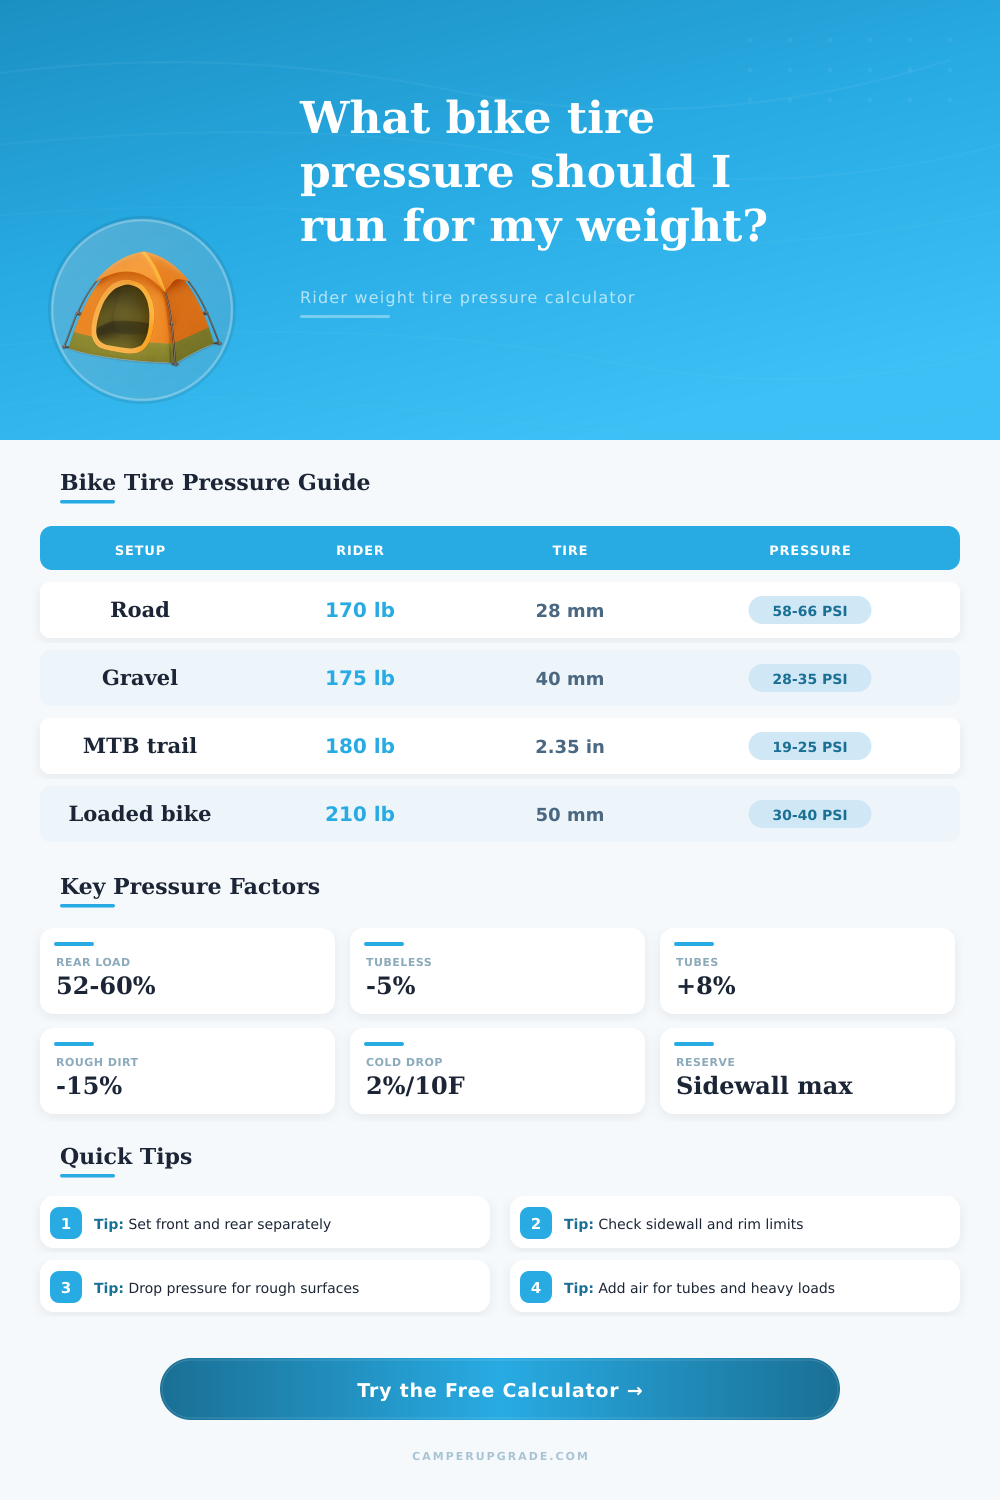
It’s all about total weight the tire carries and how that weight balance across both wheels. It isn’t just rider weight. There’s also the weight of the bike, including any frame bags or water bottles and such. That weight gets divided up between front and back tire depending on where you are seated and how the bike is designed. Most bikes put somewhere between 52 and 60 percent of the load on the rear wheel. When the calculator above provide separate front and rear target values, it considers them.
What Affects Your Bike Tire Pressure
The math also depends meaningfully on tire width. Bigger tires have more rubber to spread a given weight across, so they can absorbs a lower pressure while bearing that same weight as a smaller tire. So a rider of any given weight would require very different pressures between a 28 mm road tire and a 40 mm gravel tire for instance. This is where the actualy mounted width matters instead of what might be marked on the side wall. (Because the mounted size changes depending on rim shape, the calculator requests the measured width.)
And then there is tire setup and construction. At the same pressure, the tubeless setup with sealant can usually go down a few PSI before becoming risky. The added margin comes from being able to handle pinch flats that might pop a tube. Similarly, a supple high-thread-count casing will flex more easilly than a reinforced one, so it often feel better at the same pressure. The tool accounts for all this difference and output already includes your type of tires and tubes.
You should also consider the surface. A smooth paved road offers lower rolling resistance and rewards higher air pressure while rough singletrack/gravels reward less air pressure as the tire will conform rather than bounce. We’ve included a surface setting in the calculator, as the same rider on the same bike may require one of two dramatically opposite pressures based off where they intend to ride.
Then there’s the added layer of temperature. Heat will change air pressure. This means what you set on the pump this morning might not be what you get when it gets cooler or warmer during the day. So the result is taking into account that shift because it knows about the current temperature at the pump as well as the expected riding temperature.
After getting that initial number it’s time to pay attention when you get out and ride for the first time or two. Does the back bounce over little bumps? Is the front vague in corners? Typically small changes of one or two PSI are enough to find the sweet spot. While calculator provides a solid starting point, ultimately you would of have to go by how it feels underneath you.