Gear Weight Savings Calculator
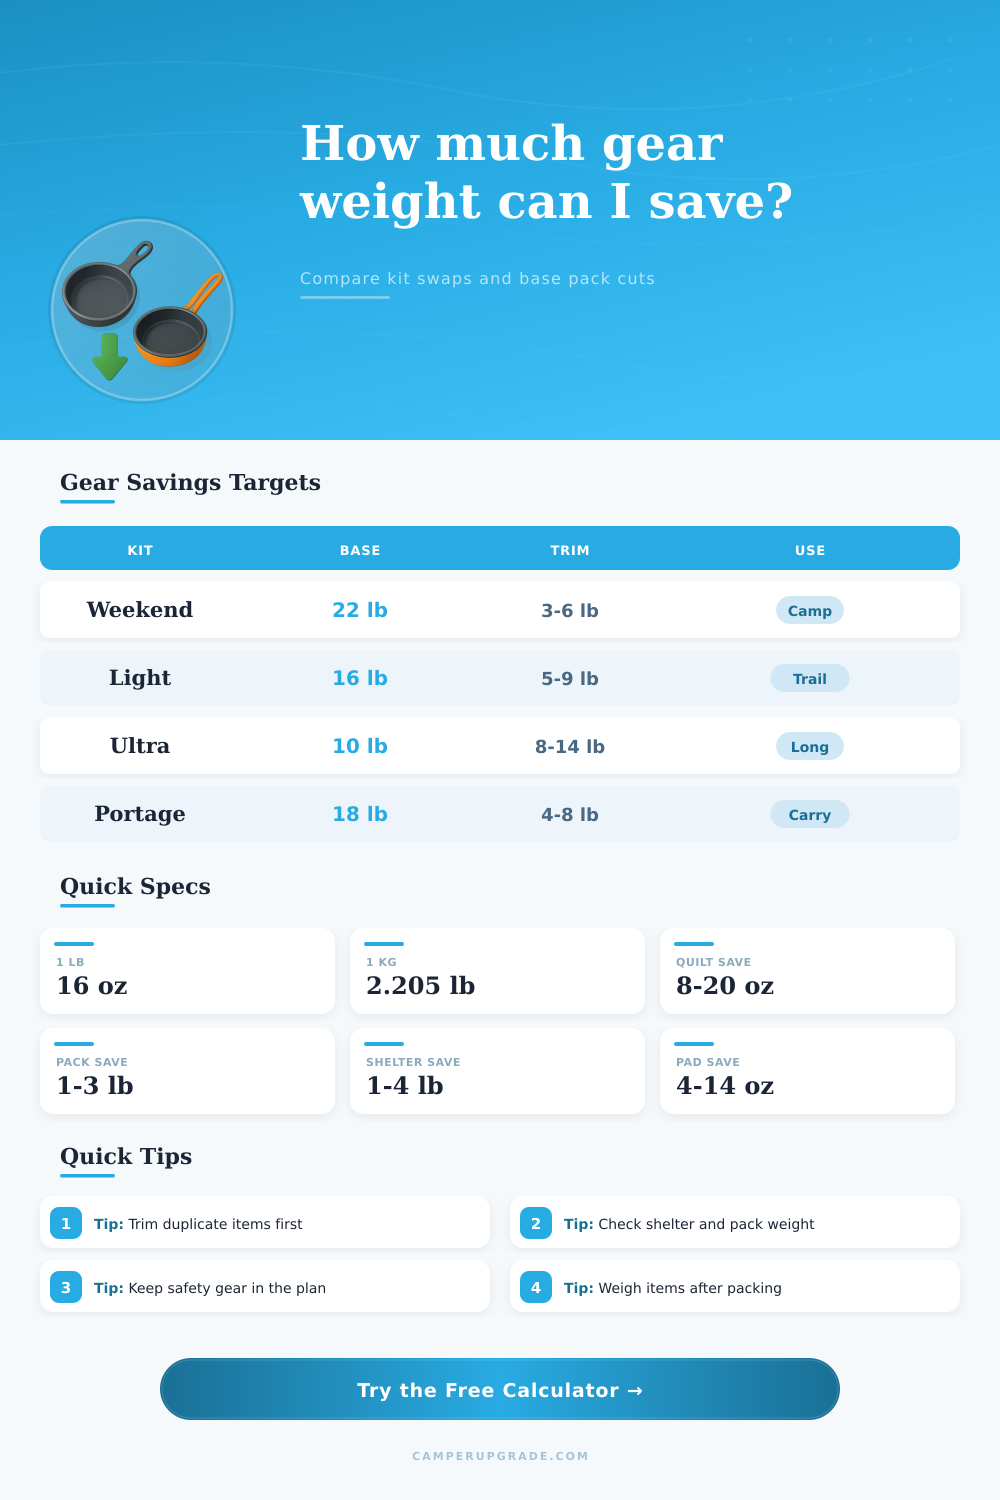
Compare your current camping or backpacking kit against realistic lighter targets, then estimate total weight saved, new base weight, category priorities, and trail burden reduction.
🎒Gear Savings Presets
⚙Current Kit Inputs
🧵Material and Spec Comparison Grid
📋Category Target Weight Reference
| Category | Comfort target | Balanced target | Minimal target |
|---|---|---|---|
| Backpack or carry bag | 48 to 64 oz | 30 to 42 oz | 14 to 26 oz |
| Shelter system | 56 to 80 oz | 28 to 44 oz | 10 to 22 oz |
| Sleep insulation | 36 to 50 oz | 22 to 32 oz | 14 to 24 oz |
| Sleeping pad and pillow | 22 to 34 oz | 14 to 22 oz | 8 to 16 oz |
| Cook and water treatment | 18 to 28 oz | 10 to 16 oz | 4 to 10 oz |
| Packed clothing layers | 44 to 64 oz | 28 to 40 oz | 16 to 28 oz |
| Lighting and power | 14 to 24 oz | 8 to 14 oz | 3 to 8 oz |
| Repair, hygiene, and extras | 28 to 48 oz | 16 to 28 oz | 8 to 18 oz |
📊Common Swap Savings Table
| Swap area | Typical current item | Lighter target | Normal savings |
|---|---|---|---|
| Backpack | 5 lb internal-frame pack | 2 to 3 lb framed or frameless pack | 32 to 48 oz |
| Shelter | 5 to 6 lb freestanding tent | 2 to 3 lb trekking-pole tent | 32 to 56 oz |
| Sleep insulation | Synthetic mummy bag | Down quilt or lighter bag | 10 to 24 oz |
| Pad setup | Thick pad plus large pillow | R-rated pad plus stuff-sack pillow | 6 to 18 oz |
| Kitchen | Large pot, mug, cup, bowl set | One pot, spoon, compact stove | 8 to 20 oz |
| Lighting | Lantern plus headlamp plus spare cells | Rechargeable headlamp and small backup | 4 to 14 oz |
| Clothing | Duplicate pants, shirts, heavy fleece | Layering system with one dry sleep layer | 12 to 40 oz |
| Extras | Full-size toiletries and tools | Repacked hygiene and compact repair kit | 8 to 24 oz |
| Base weight class | Total gear weight | Best use | Audit focus |
|---|---|---|---|
| Comfort | 24 lb or more | Short carries and camp comfort | Shelter, pack, duplicate extras |
| Lightweight | 12 to 20 lb | Most weekend backpacking | Sleep system and clothing layers |
| Minimal | 8 to 12 lb | Long miles with known conditions | Weather margin and item overlap |
| Specialized | Varies | Winter, kids, portage, bikepacking | Safety reserve and trip conditions |
| Savings amount | Equivalent | Trail meaning | Priority |
|---|---|---|---|
| 8 oz | Half pound | Small but worthwhile repeat trim | Fine tuning |
| 16 oz | One pound | Noticeable on long climbs | Good target |
| 32 oz | Two pounds | Major category improvement | High priority |
| 64 oz | Four pounds | Transformative pack feel | Top priority |
🧭Preset Scenario Benchmarks
| Scenario | Common starting point | Likely savings | Most useful first audit |
|---|---|---|---|
| Weekend backpack kit | Comfort-focused three-season setup | 3 to 7 lb | Shelter, pack, kitchen overlap |
| RV backup grab bag | Campground emergency and day-use items | 2 to 5 lb | Tools, lighting, duplicate hygiene |
| Bikepacking dry kit | Small bags with dense packed clothing | 1 to 4 lb | Layer duplication and power gear |
| Kayak portage camp | Waterproof storage and heavier shelter | 3 to 8 lb | Dry bag count, shelter, camp extras |
| Winter layer audit | Bulky insulation with safety margin | 2 to 6 lb | Layer system, pad warmth, repair items |
💡Weight Savings Tips
This calculator estimates base gear savings only. Food, fuel, and water change by trip and are intentionally kept outside the main savings total.
Weight savings for gear involve determining what gear to take with you on your trip and what gear to leave behind. Gear weight is important because it can impact the feelings of your packs after you go on your trip. It is possible that your sleeping system, cooking system, and pack will feel comfortabley on the first day of your trip.
However, after the eighth mile, you may experience the weight of your gear. By weighing the different group of gear that you will carry, you can determine if a gear swap is worth the effort for your trip. To calculate the weight of your gear, you must decide on several factor related to the way that you organize your gear.
How to Weigh and Save Your Gear for a Trip
You must enter the weight of the gear that you will put on your pack, the shelter (with stakes and groundsheet), sleeping bag or quilt, sleeping pad, cook set, clothing, and electronics and repair gear. Each of these category will impact the total weight of your gear. For instance, if you choose a heavier pack frame it will provide you with more stability on rough terrains but add to the total weight of your gear.
A larger tent will keep you dry in the wind but add to the bulk of your gear and the amount of food and fuel that you will need for your trip. The trip profile will factor into these calculations because it will take into account the distance that you plan to walk and the roughness of the terrain that you plan to travel on. A pound of weight is more important to saving on a hundred-mile trip than on a three-mile trip.
People often implement a safety reserve in the equation to ensure that you do not reduce the amount of gear that you will take on the trip too much. People often ignore this safety reserve, but many often add too much safety reserve to their calculations. This safety reserve will allow you to hold back on some of the weight savings to ensure that essential gear for the trip isnt removed.
Your trip may experience change in the weather, you may get injured on the trip, and there may be wrong turns on your trip. By including a safety reserve for gear, you will ensure that your lighter gear will match the actual weather conditions on the trip, and your gear will match the weather conditions that you expect on your trip. There are reference tables that show the impact of each of the target style on each gear category.
For comfort target styles, you will have more gear for camp time and for camp weather. Balanced target style will allow you to leave some gear out to save some of the weight for gear that you will rely on for durability so it will last the trip. A balanced target style will be the middle ground between the other target styles.
For minimal target style, you will be assuming that you know the weather and the terrain that you will encounter on your trip. No target style is considered to be better than another. Some target styles include more time spent on the move while other include more time spent on the ground.
Your choice of target style will impact your gear and your calculations of the weight of your gear and the savings that you can make by changing your gear. The gear weight calculator will output the carry burden. The calculator will calculate the weight of your gear and the total distance that you will walk on the trip.
The calculator will also include a trip factor. The total pound-miles will allow you to determine the total amount of work that your body will perform on the trip. Saving two pounds of gear on a forty-mile trek will feel different than saving the same amount of gear over a three-mile trek.
This value will allow you to determine whether or not a gear change will be worth the change in your gears durability. One of the most common mistake in calculating gear weight is only considering individual gear items but not the total weight of gear categories. For instance, if you are taking two headlamps, three sleeping bags, and a camp chair your total gear weight will be more than you might imagine.
The other common mistake is not weighing gear with its stuff sack, stakes, or batteries. The weight that needs to be entered into the gear weight calculator is the total weight of the gear system. Food, fuel, and water are not weighed in this calculation because these variables will change with the itinerary that you plan for your trip.
The base gear weight is the weight of gear that you control prior to your decision for the amount of food to pack. The value of the gear weight calculator becomes apparent when you enter the same gear with different target styles and trip profiles. For instance, a winter clothing audit will show the impact of saving weight in the clothing category while a thru-hike may show savings in the shelter and pack weight category.
The calculator wont replace your gear and trip judgment but will assist you in determining whether your gear will match the weather, terrain, and company that you are on the trip with.