Owning a trailer is every traveler’s dream. After all, nothing makes you feel at ease more than having a safe and comfortable camper to return to after a tiring day of escapade.
It provides better protection than a tent and has all the amenities you need to maintain your lifestyle while enjoying the outdoors.
Unless you’re a nomad, you will probably use your trailer only two or three times a year, meaning it will be parked on your property for at least 45 weeks. That’s a long time.
So, instead of leaving it idle until your next trip, why not use it as an additional living quarter? For example, you can let one of your children use it as their bedroom. Or, maybe renting it out sounds more interesting.
No matter how you’d like to use your trailer during the months you’re not traveling, you must carefully consider how to park it. If your driveway is flat, this isn’t a big deal, but if it’s a slope, you need to be creative in leveling it.
Here’s why leveling your trailer is critical:
- Even the slightest inclination can make your trailer uncomfortable, as you must always maintain a foothold.
- All standalone furniture pieces will keep falling over.
- If your work desk and chair have wheels, they will keep rolling toward the lowest point of your trailer.
- It’s hard to cook when your stovetop is tilted. When making soup, you risk burning yourself if the pot slides off and spills out its boiling content. The flames are also slightly tilted, making it hard to cook evenly.
- Most appliances that use torsion are designed to operate symmetrically. With the slope, their centers of gravity also change, disrupting the balance of forces necessary for them to work correctly. It also makes them more prone to damage since their components rotate while tilted.
- Your dual-fuel refrigerator will stop cooling. If it’s running on propane, the small flame that’s supposed to heat the boiler will miss its target because it’s slightly skewed.
Built-In Leveling System
Late RV models now have leveling jacks. This feature comes with a control panel inside the RV, and beside it is a spirit level that shows you whether the RV is already level or off-center.
But this doesn’t apply to high slopes because it can only level your vehicle around two degrees.
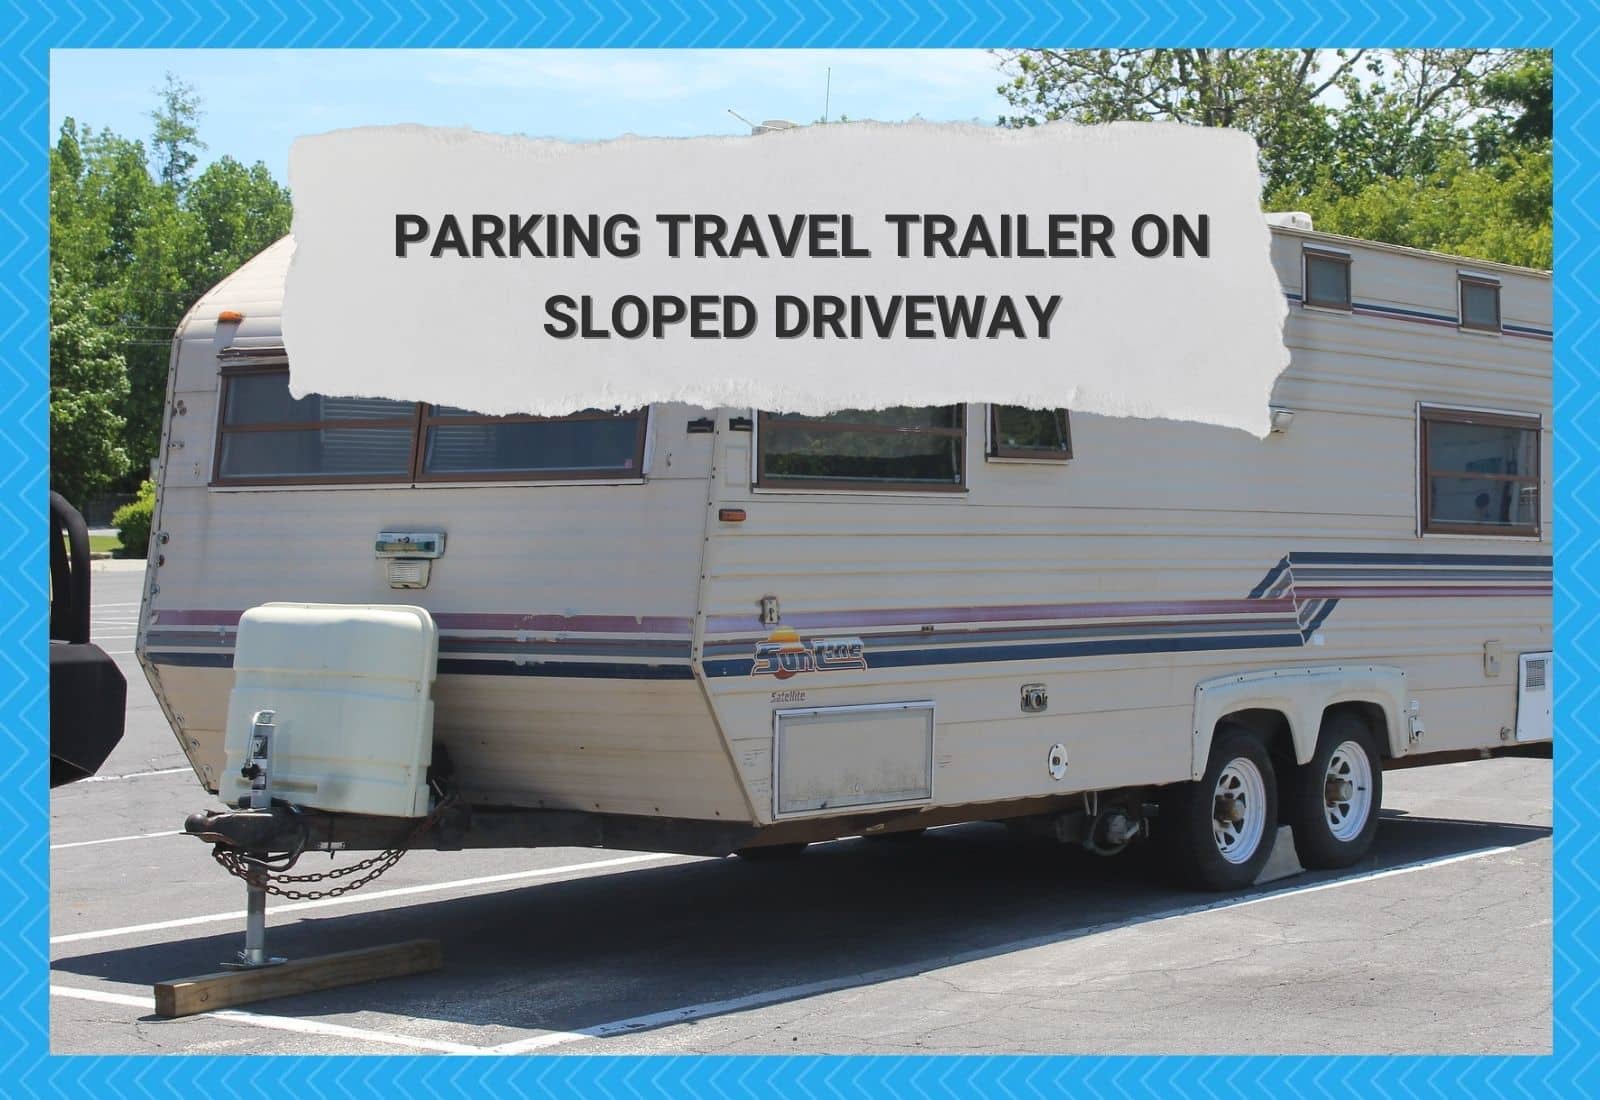
Parking Travel Trailer on a Sloped Driveway
Parking Considerations
Before thinking of ways to level your trailer, consider the following:
- Size and weight of your trailer – How big is your trailer? Will it fit your driveway? Will there be enough space for your other cars to park or pass through? You must ask yourself these questions to determine if the driveway is the best place to park your trailer. You must also consider the trailer’s weight, including additional loads. On average, an empty trailer weighs from 2 to 5 tons.
- Surface material and condition – While most driveways are concrete, others are soil, lawn, or crushed stone overlay. Keep in mind that you’re dealing with an object several tons heavy. It can quickly sink on soft ground, increasing your trailer’s inclination. Before leveling, see that the ground is stable and can endure more than five tons of pure mass.

- Angle of inclination – How steep is your driveway? Five degrees? 10? 30? The leveling method your will use depends on your driveway’s slope. If it’s less than 10 degrees, commercial plastic levelers might suffice. But if it’s more than that, you might need leveling blocks or wheel chocks.
- Drivetrain – How many wheels does your trailer have? Is it a dual-axle trailer? Does it come with a stabilizer leg support? The drivetrain plays a vital role in choosing which end of the trailer should be on the lowest or highest point of the slope. In most cases, the side with the wheels is at the highest point.
Preparing the Parking Area
So you found an excellent spot to park. Then, it’s time to prepare for the big task. You don’t need to do anything if the surface is solid concrete at least half a foot thick. That’s stable enough to hold up even the heaviest motorhome.
But if the surface is soil, you must build base support for the levelers, such as thick wood planks or concrete slabs.
The wider the surface area of the footing, the less likely the leveler will settle. Don’t just lay them down on the ground, though. They must be at least two inches from the surface to resist lateral movements.
Compress the soil by pounding with a rammer or vibrator tamper. The soil must be compact enough to preserve its density even when subjected to pressure. Or, if you have the time and budget, consider having a concrete driveway. It’s a good investment since you’ll use it all year round.
Center of Gravity
Assuming you have a tandem axle trailer, meaning one end has wheels, and the other is where you connect the tow vehicle. If you let it stand without support on either side, which side hits the ground? That side is where the trailer’s center of gravity is located.
The center of gravity tells you which side should be on the highest or lowest point of the slope. The rule of thumb is to place the side closest to the center of gravity on the highest point of the slope. This way, you don’t need support on both ends since gravity will pin down one of them.
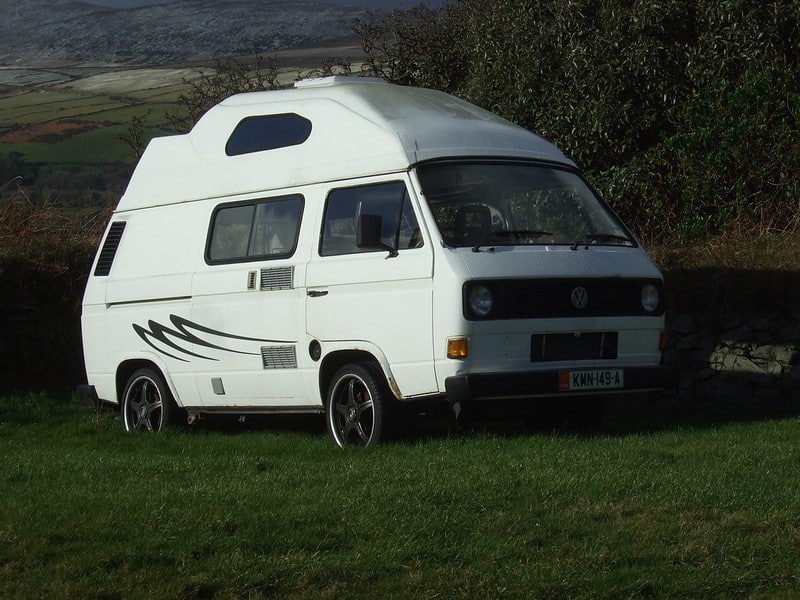
RVs, motorhomes, coaches, and camper vans are easier to level because their weight is evenly distributed across their lengths. This means their center of gravity is near their midpoint, so it doesn’t matter which side is placed where.
It’s Leveling Time
As mentioned, the leveling method depends on how high you need to raise your trailer. There are several options you can explore, each suitable for specific leveling needs:
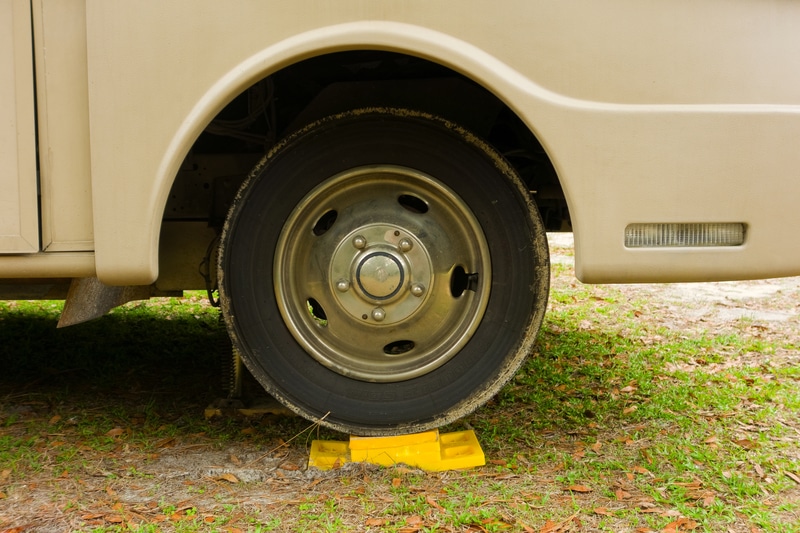
- Plastic Levelers
If you only need to raise your trailer a few inches high, plastic levelers would do. Different types and designs exist, but the curve leveler ramp is the most effective.
This leveler consists of a large curve piece that goes from thin to thick and a small one that serves as a lock. The larger piece is where you roll over your trailer’s rear wheels.
The trailer is raised as the wheels reach the thicker end of the ramp. Its thinner end is also lifted in the process. You then place the smaller piece underneath the thinner end of the ramp to lock it and prevent the wheels from rolling back down.
- Wheel Chocks
If you need to raise your trailer a bit higher, say a foot or two, you need a much larger and more elaborate apparatus—for example, wheel chocks. Prepare several pieces of wood boards. They should be wide enough to cover your trailer’s wheels and have extra space for the wheel chocks.
Place the boards on top of each other on the driveway. Pull down each board, so their edges are at least a couple of inches apart. This arrangement will form a ramp for the wheels to roll on. Once you have enough height and width, fasten the wood boards together.
Of course, you will need a stopper for the wheels, or it will roll off the rear end of the ramp you’ve just made. This is where the wheel chocks come in. They’re thick wood blocks attached to the back end of the ramps. This setup should lift your trailer a foot or two from the surface, depending on how many wood boards you use.
Do not forget, though, that wood is an organic material. It decays over time. Some wood types are more rigid and more resilient than others. Choose those naturally resistant to infestation and weathering. Or, you can treat the wood boards and wheel chocks first to make them more durable.
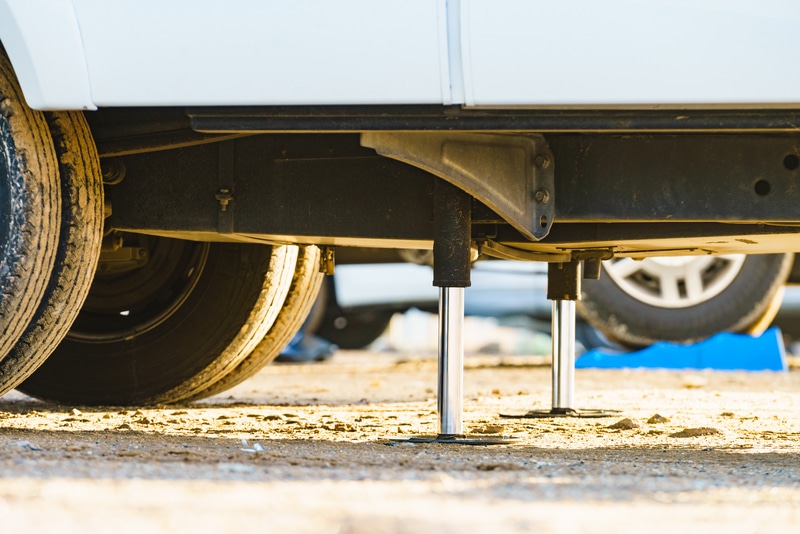
- Trailer Jacks
A trailer jack is a device used to temporarily raise a trailer so that you can safely connect or disconnect it to the tow vehicle. It can lift your trailer around three feet off the ground, so it can help level it on a slope.
Then again, it’s designed to be just as high as the trailer’s wheels. So if the wheels are on the highest point on the slope, you still need to put something underneath the jack.
This means more than the jack alone will be required. Adding a solid ramp where the jack can stand stably is a good idea.
But there’s also the issue of longevity. As mentioned, trailer jacks only provide temporary stability. There’s no telling what might happen if it’s exposed to so much stress for an extended period.
Of course, you can still use it to level your trailer, but it needs additional support. For instance, you can set up the trailer stands if there are any.
Spirit Level
Also called bubble level, this device is used to determine whether or not a surface is level. It has a vial with fluid inside and a bubble that moves around according to the slope of the surface where the device is placed.
If you put it on a level surface, the bubble should move to the center of the vial. The bubble will be slightly off the center mark if the surface isn’t level. This device is handy when leveling trailers.
Conclusion
You can see that leveling a trailer on a slope takes a little bit of engineering and carpentry skills. It’s mostly common sense, but dealing with heavy objects requires understanding the interaction between forces. A slight mistake could lead to a severe accident.
When in doubt, feel free to hire an expert to help you out. The RV manufacturer or your dealership has a hotline for clients with technical inquiries. You don’t want to feel anxious every time you stay in your trailer because you’re unsure if the setup could hold and for how long.
