Camping is one of the things people do to de-stress. But it can also be a source of stress if you plan your trip poorly. One of the most worrisome setbacks you can encounter when camping is running out of water.
Whether for cooking or personal hygiene, water is a valuable resource at a campsite. Even if you camp near a river or lake, you still need clean water for drinking and cooking.
While many national parks in the U.S. have pristine bodies of water, it’s not safe to drink from them directly. Either you should boil the water you fetch or bring your own—that’s the thumb rule.
Unfortunately, you consume more water than you may think, about several gallons in just a few days.
It can be particularly problematic when camping with your family or friends, as you have more bodies to keep hydrated. That’s one of the reasons a lot of camping enthusiasts invest in recreational vehicles.
Unlike regular vehicles, an RV has a large tank that can store fresh water. Some can hold up to a hundred gallons, enough to cover a small family’s needs for a week or two. But owning an RV comes with the daunting task of learning its mechanisms to maximize its functions.
For example, you should know where and how to get fresh water into your RV. If you encounter problems—leaks, lack of pressure, clogs, etc.—you must be ready to troubleshoot them, or you won’t have drinking and bath water throughout your camping trip.
Fresh water vs. city water
Your freshwater tank isn’t the only source of water in your RV. Like electricity, which you can sometimes get from an AC electrical grid when you’re stationed at a campground or RV park, you can also get water from other sources to avoid pumping water from the fresh water tank.
You may wonder why you’d want to avoid using your stored water. If you empty your fresh water tank before you reach your destination, you’ll eventually have to replenish it, which is time-consuming.
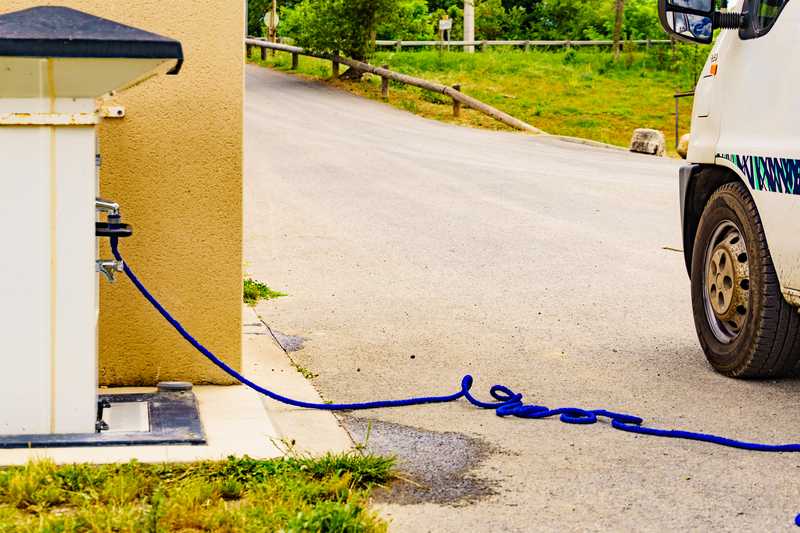
But if you connect your RV’s water system to a continuous source, you’ll have water ready for use when there are no spigots around. Then, once you’re ready to move again, you don’t have to refill the tank. All you have to do is pack up, raise the leveling jacks, and go.
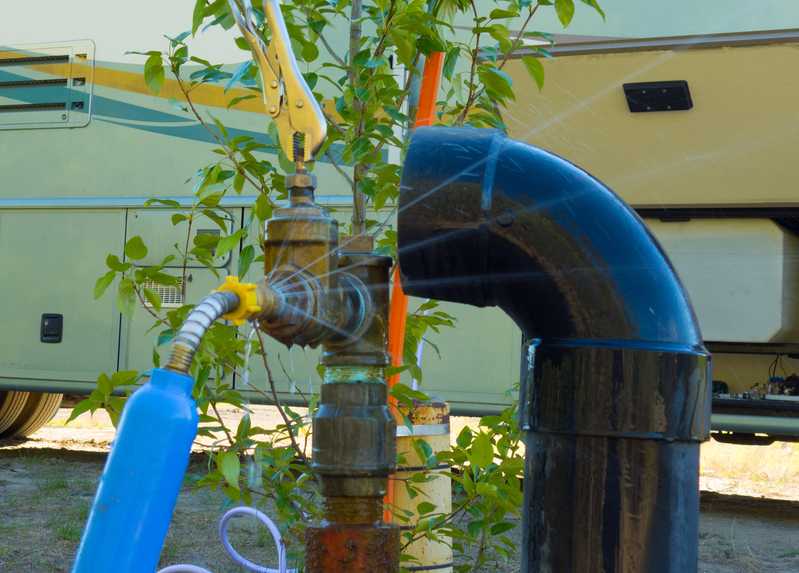
If you check outside your RV, you’ll see an inlet labeled “city water connection.” This is where you hook up the hose connected to an outside source to provide your RV with a continuous water supply.
It’s different from the fresh water tank inlet, which is usually located in a compartment also outside the RV, along with other plumbing connections.
In other words, fresh water and city water are both fresh water. We only call the former fresh water because it goes directly into the fresh water tank. On the other hand, city water refers to the pressurized water we shore up from an outside source.
Do you need to turn on the water pump when shoring city water?

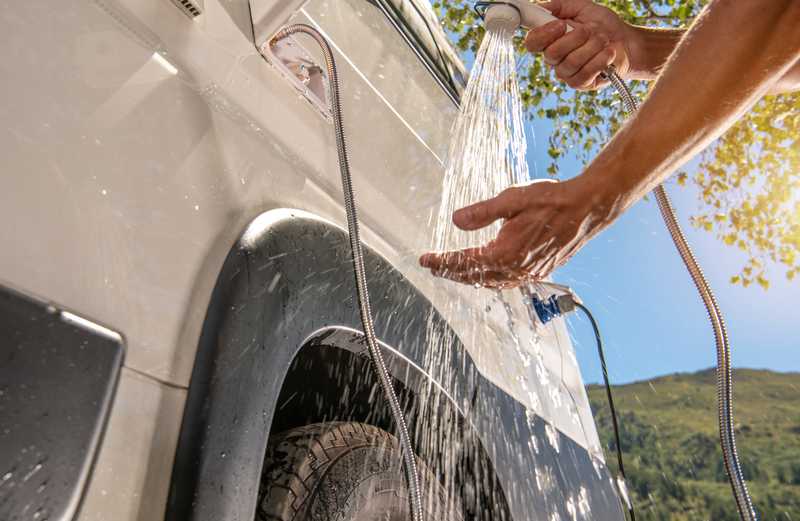
The purpose of a pump is to pressurize the water in the tank so it can flow into the pipes and out through your faucets and shower. When you use your city water connection, your water is already pressurized because its source has its own pressure.
Many new RV owners unnecessarily use the water pump while getting city water. This will only cause a pressure issue because now you’re applying pressure on the tank while receiving water through the city water connection.
In short, you’re getting water from both the tank and the water spigot outside the RV. Not only is it wasteful, but it can also be damaging to your pipes as they’re dealing with more pressure than usual.
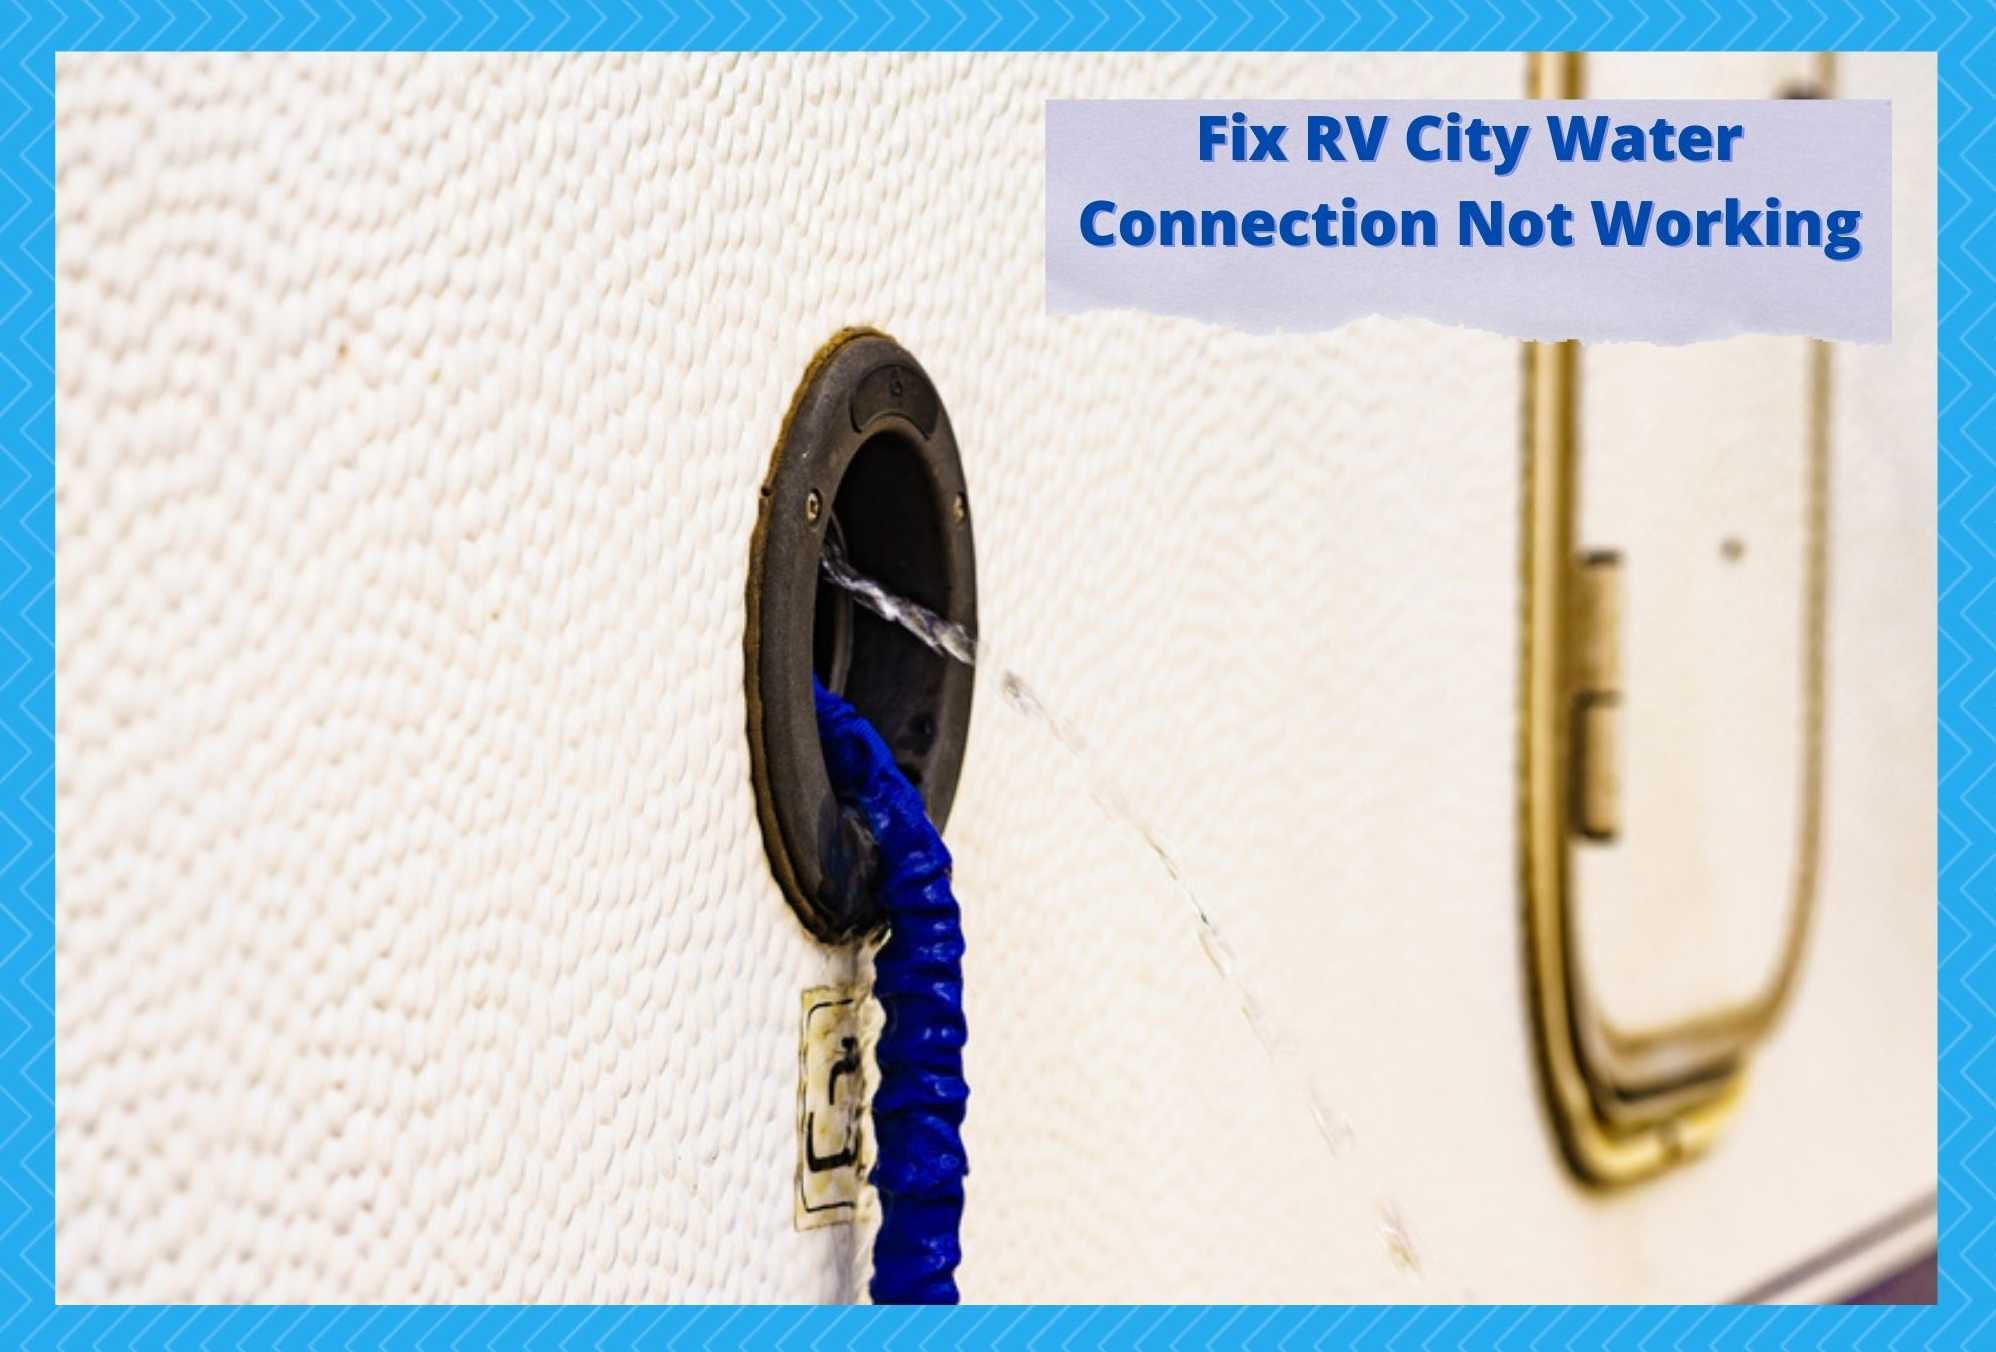
Fix RV City Water Connection Not Working
The best way to fix any issues you may encounter with the city water connection is to understand how this connection works. If you take it apart, you’ll realize that its assembly is more complex than you imagine. It’s not just an orifice where you can plug a hose and let water in.
Instead, it’s a check valve that consists of several parts, including a gasket that seals the side of the valve, a plunger piece that prevents water from leaking back out, a spring clipped around the plunger that allows the latter to shut off automatically, and an O-ring that seals the plunger piece.
When you diagnose a faulty city water connection, your guesses can be more accurate because you know these components like the back of your hands. For instance, if there’s a leak around the inlet, a worn-down O-ring or gasket is the most likely culprit.
However, if the leak is more than what a worn-out gasket could create, the plunger piece might have failed to retract due to a broken spring. Sometimes, the spring and plunger piece is fine, and it’s the clip that’s damaged, causing the spring to loosen up.
If the city water connection isn’t working, meaning no water is coming into the system, it’s a different animal altogether. The cause can be far from a worn gasket or a faulty spring.
1. Clogs in the pipe
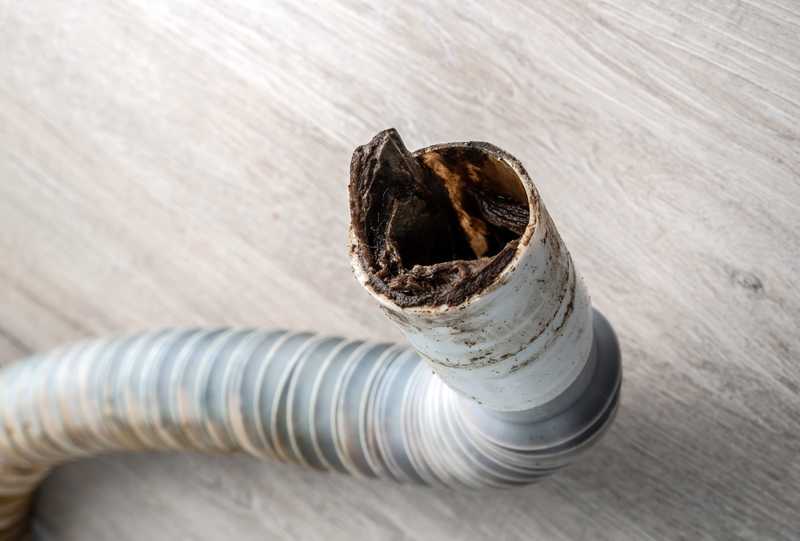
There may be a clog in the assembly, although this is rarely the case unless the hose you used is too dirty, you didn’t use a filter or put it too far from the inlet, or someone moved the valve and accidentally inserted an object in it.
The solution is simple. Just remove the clog so water can move in freely.
The question is, how do you remove the clog? Well, it depends on when the clog is. For instance, if the clog is within the pipe, you can get rid of it by adding more pressure to the water to push it out. But make sure the hose isn’t connected to the city water connection inlet yet.
If the maximum water pressure isn’t enough to eliminate the clog, you should cut open the hose to get it out by hand. Then, you’ll have to reconnect the hose.
Suppose the clog is within the city water connection or along the main pipe before splitting into different smaller conduits. In that case, you should call a plumber specializing in RV plumbing systems.
2. Broken connection assembly
It’s also possible that the city water connection assembly is broken. For instance, the plunger piece and spring might have gotten tangled and can no longer push back to let water in.
Maybe the gasket snapped and got sucked back into the inlet by reverse pressure, permanently blocking the passage of water. It’s also possible that the O-ring got dislodged, and movements from your RV caused it to block the inlet.
In this case, the best solution is to replace the assembly altogether. The problem is some of its components are hard to come by. You can’t buy them from Home Depot or the supermarket.
Service centers may not have them either. But there are aftermarket products available. So you just have to wait a few days to have your city water connection problems resolved.
3. How to install a city water connection assembly
If you decide to replace the valve altogether, the first thing you should do is make sure that the new valve is the same as the one you’re removing.
Otherwise, you’ll have trouble fitting it into the opening and screwing it down. The last thing you want is to drill new holes for the screws because the new screws are a bit off the mark.
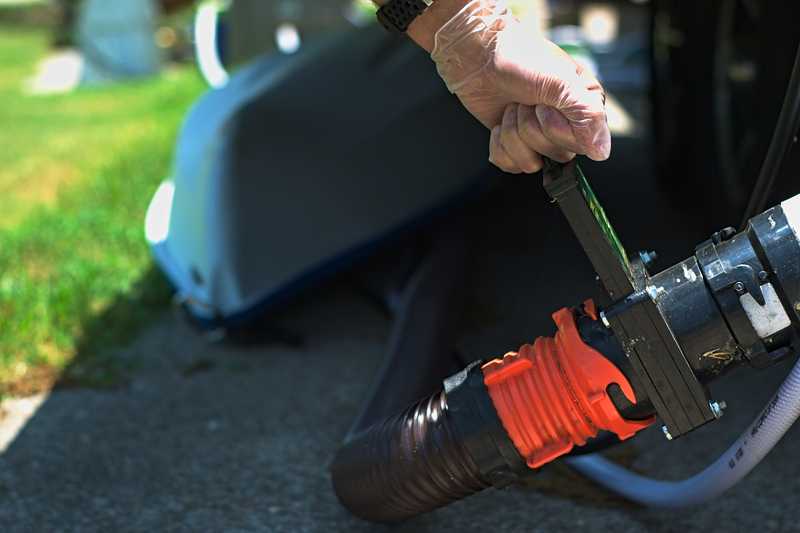
To remove the old valve, unscrew it from the outside and on the backside (inside the service compartment) to loosen up the piping. That should allow you to push the valve until it pops out.
To install the new one, you have to reverse the process. Hand-tighten the piping from the back and screw the valve’s frame on your RV’s wall. The assembly is designed to be watertight, so you don’t have to do anything with it.
Fixing issues like a city water connection failure can save you hundreds of dollars. You don’t even have to go so far as to cancel your trip just because you’re worried you might not have enough water supply.
But to ensure you won’t do your city water connection more harm than good, leave complex issues to a professional technician.
